No-Bake Custard Slice
Introduction
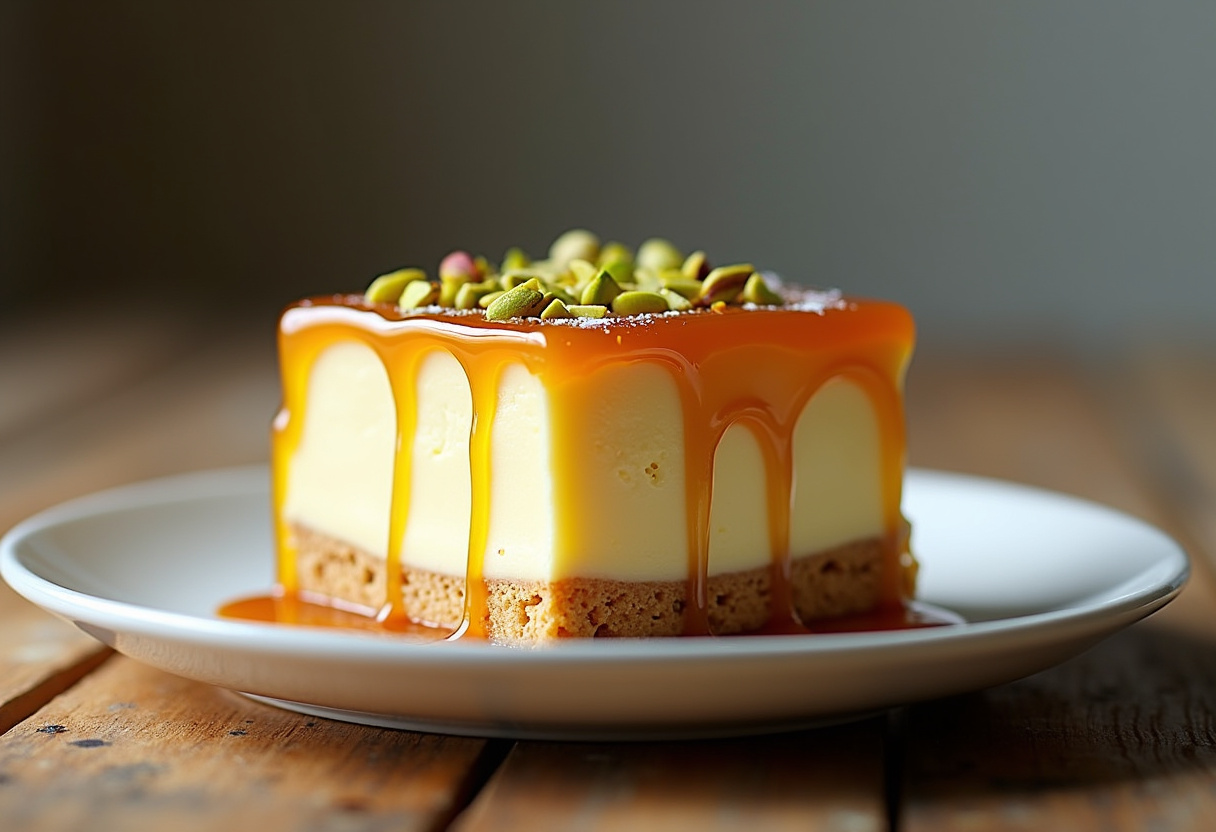
This delightful No-Bake Custard Slice recipe offers a perfect blend of crunchy biscuits, velvety custard, and a sweet icing topping. It’s a hassle-free dessert that’s ideal for warm days or when you crave a simple yet indulgent treat.
Why choose this No-Bake Custard Slice recipe?
If you’re looking for a straightforward, quick-to-assemble dessert that requires minimal ingredients, this No-Bake Custard Slice is the perfect choice. The smooth and rich custard complements the crisp biscuit layers, while the icing adds a touch of sweetness. Additionally, its versatility allows for customization with different biscuits and toppings to suit your preferences.
Ingredients for No-Bake Custard Slice
- 2 packs plain graham crackers or digestive biscuits (or vanilla wafers)
- 4 cups milk
- 1/2 cup sugar
- 1/3 cup cornstarch
- 2 tsp vanilla extract
- 3 egg yolks
- 2 tbsp butter
- 1 cup powdered sugar
- 1-2 tbsp milk
- 1/2 tsp vanilla
Preparation Steps for No-Bake Custard Slice
Step 1: Line the Pan
To begin, line an 8×8 or 9×9 square pan with parchment paper, ensuring easy removal and serving of the custard slice.
Step 2: Create the Biscuit Base
Arrange a layer of biscuits at the bottom of the pan, providing a sturdy and flavorful foundation for the custard slice.
Step 3: Prepare the Custard
In a saucepan, combine milk, sugar, and cornstarch, whisking until smooth. Heat the mixture while stirring, then gradually add egg yolks. Cook until the custard thickens, about 5 to 7 minutes. Remove from heat, stir in butter and vanilla, ensuring a creamy and luscious custard.
Step 4: Assemble the Layers
Pour half of the custard over the biscuit layer, then add another layer of biscuits on top. Repeat with the remaining custard and finish with a final layer of biscuits, creating a delightful custard sandwich.
Step 5: Add the Icing
Prepare the icing by mixing powdered sugar, milk, and vanilla until smooth. Spread the icing evenly over the top biscuit layer, enhancing the sweetness and presentation of the custard slice.
Step 6: Chill and Serve
Place the assembled custard slice in the fridge for at least 4 hours, allowing the flavors to meld and the custard to set perfectly. Once chilled, slice the dessert into squares and serve cold for a refreshing and delightful treat.
Health Benefits of No-Bake Custard Slice
No-Bake Custard Slice offers a delightful treat without the need for baking. This dessert provides a perfect balance of textures, combining the crunchiness of biscuits with the smoothness of custard. The absence of baking also preserves the nutrients in the ingredients, such as the milk, eggs, and vanilla extract, ensuring a wholesome indulgence.
Origin and History of the No-Bake Custard Slice Recipe
The No-Bake Custard Slice recipe has evolved as a convenient and quick dessert option for those seeking a sweet treat without the hassle of baking. While traditional custard slices involve baking pastry layers, this variation simplifies the process by using biscuits as a base, resulting in a delicious and time-saving alternative. The exact origin of this recipe may vary, but its popularity lies in its simplicity and versatility.
Delicious Variations Around No-Bake Custard Slice
Enhancing the No-Bake Custard Slice with creative variations can elevate its flavors and appeal. Here are some delightful twists to try:
- Swap plain biscuits with chocolate-flavored ones for a richer taste.
- Experiment with different toppings like powdered sugar, melted chocolate, or toasted coconut for added texture and flavor.
- Add citrus zest to the custard for a refreshing twist, or try almond extract for a unique aroma.
Chef’s Tips for Perfecting Your No-Bake Custard Slice
To achieve the perfect No-Bake Custard Slice, consider the following tips:
- Ensure the custard is thickened to the right consistency before layering it with the biscuits to prevent a soggy texture.
- Chill the slice for at least 4 hours, or overnight, for the best results as it allows the flavors to meld and the custard to set properly.
- Experiment with different types of biscuits and flavorings to customize the slice according to your preferences.
Ingredient Alternatives for No-Bake Custard Slice
While the traditional recipe calls for plain graham crackers or digestive biscuits, you can get creative with ingredient swaps to add your own twist to the classic No-Bake Custard Slice:
- Try using chocolate-flavored biscuits for a more decadent flavor profile.
- Experiment with different types of milk like almond milk or coconut milk for a dairy-free version.
- Explore alternative sweeteners such as honey or maple syrup for a unique taste.
- Consider adding a hint of cinnamon or nutmeg to the custard filling for a warm and aromatic touch.
Tips and Tricks to Perfect Your No-Bake Custard Slice
Creating the perfect No-Bake Custard Slice requires attention to detail and some handy tips to ensure success:
- Ensure the custard filling is cooked to the right consistency to prevent it from being too runny.
- Allow the slice to chill for the recommended time to set properly and enhance the flavors.
- When layering the biscuits and custard, press down gently to create a compact and even slice.
- For a decorative touch, sprinkle crushed nuts or colorful sprinkles on top of the icing before chilling.
Side Dish Suggestions for No-Bake Custard Slice
Pairing your No-Bake Custard Slice with complementary side dishes can elevate the dessert experience. Here are some delightful suggestions to serve alongside your custard slice:
- Fresh berries like strawberries, raspberries, or blueberries for a burst of fruity freshness.
- A dollop of whipped cream or a scoop of vanilla ice cream to add a creamy contrast.
- A drizzle of caramel sauce or chocolate ganache for an indulgent treat.
- A sprinkle of sea salt flakes on top of the slice to balance the sweetness with a hint of saltiness.
FAQ about the recipe No-Bake Custard Slice
How to store the recipe No-Bake Custard Slice after cooking?
After making the No-Bake Custard Slice, it’s best to store it in an airtight container in the fridge. This dessert stays fresh and delicious for about 3 days when properly covered. Make sure to keep it chilled to maintain its texture and flavor.
Can the recipe No-Bake Custard Slice be prepared in advance?
Absolutely! You can prepare the No-Bake Custard Slice in advance, which is quite convenient. I often make it the night before to allow the custard to set properly and for the flavors to develop fully. This dessert actually tastes even better after a few hours or overnight in the fridge.
What ingredients can be substituted in the recipe No-Bake Custard Slice?
For those looking to make substitutions, various ingredients can be swapped in the No-Bake Custard Slice recipe. I’ve used different types of biscuits like digestive biscuits, graham crackers, vanilla wafers, and even chocolate biscuits with great results. Feel free to experiment with your favorite flavors!
How to adapt the recipe No-Bake Custard Slice for a vegetarian version?
To adapt the No-Bake Custard Slice for a vegetarian version, you can easily substitute dairy ingredients with plant-based alternatives. Use almond milk and vegan butter instead of regular milk and butter. These swaps work well and result in a delicious vegetarian-friendly dessert.
Is the recipe No-Bake Custard Slice suitable for children?
Absolutely! The No-Bake Custard Slice is a family-friendly dessert that children would enjoy. The creamy custard, crunchy biscuits, and sweet icing make it a delightful treat for kids. Just ensure that all ingredients are suitable for your child’s dietary needs and preferences.
Conclusion about the recipe No-Bake Custard Slice
This No-Bake Custard Slice is one of my favorite go-to desserts when I want something creamy, satisfying, and easy to make without turning on the oven. Its simple yet delicious layers of custard and biscuits create a delightful treat that can be enjoyed by all. Whether you’re hosting a gathering or simply craving a sweet indulgence, this recipe is sure to impress with its rich flavors and smooth texture.
📌 Save This Recipe and Explore More Culinary Delights!
Love this recipe? Don’t lose it! Pin it now on Pinterest to keep it within reach whenever you need a quick and delicious idea. Sharing it with your followers also helps spread the love for easy and flavorful home cooking!
💡 Whether you’re planning your next weeknight dinner or preparing a special meal for guests, having your favorite recipes saved makes cooking easier and more enjoyable. Pinterest is a great way to organize your meal ideas, try new twists on classics, and come back to those dishes you can’t get enough of.
📲 While you’re there, be sure to follow our Pinterest page to get inspired by our latest creations — from comforting one-pot meals to healthy quick-fix ideas, seasonal treats, and much more. We regularly share new recipes that are simple, delicious, and perfect for everyday cooking.
📖 Ready for more inspiration? Visit our complete recipe archive on our dedicated recipe page. You’ll find dozens of easy-to-follow recipes designed to save you time in the kitchen while bringing great flavors to your table. Whether you’re a beginner or a seasoned cook, there’s something for everyone to explore!
✨ Don’t forget to bookmark your favorites and come back often — we’re always cooking up something new and exciting!