Follow Me On Social Media!

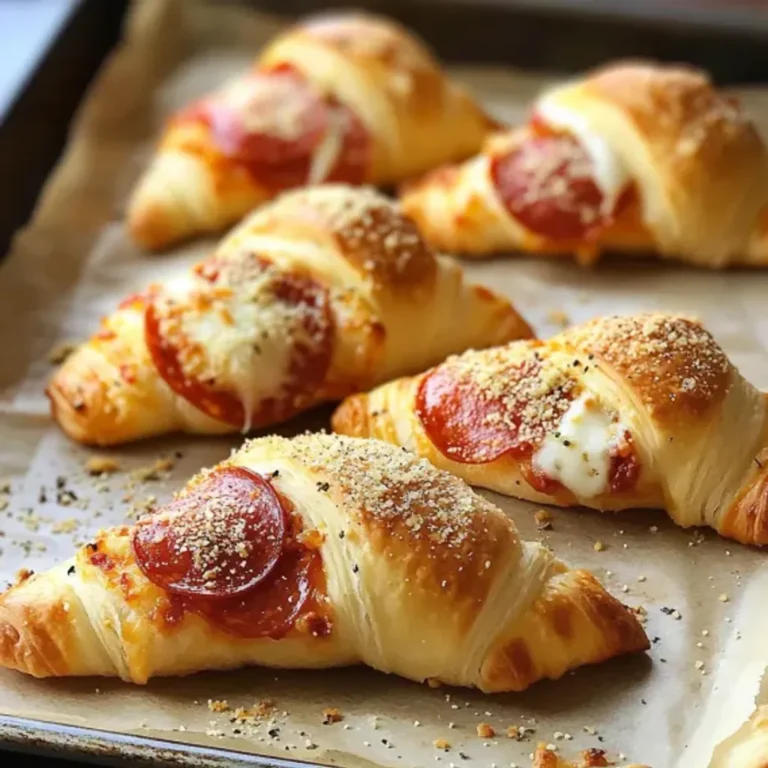
Indulge in a childhood favorite with a grown-up twist with these delectable Grilled Cheese Roll Ups. These golden, crispy treats are perfect for a quick snack, lunchbox surprise, or a cozy late-night bite. Whether you opt for a classic cheese-only version or elevate it with a savory slice of ham, these roll ups are sure to become a staple in your recipe repertoire.
I still remember the first time I whipped up these Grilled Cheese Roll Ups out of necessity, and now they’ve become a crowd-pleaser every time friends and family pop by. The joy of watching the cheese ooze out perfectly as you take that first delicious bite is truly unmatched. Plus, the protein-packed ham option adds an extra layer of flavor and satisfaction, making these roll ups a hit with both kids and adults alike.
Experiment with different cheeses like Monterey Jack or Swiss, or add a touch of garlic butter for an extra kick. Whether you serve them with a side of tomato soup, dip them in tangy ranch dressing, or enjoy them on their own, these Grilled Cheese Roll Ups are a fun and shareable twist on a classic comfort food that will leave everyone craving more.
Quick Benefits
- High in protein with ham, making it a satisfying snack or light meal for energy
- Versatile recipe allows for creativity by adding different meats like turkey or bacon
- Easy to store and reheat, making it a convenient make-ahead option for busy days
- Perfect for picky eaters or snack time crowds with its nostalgic comfort food flavor
Why You’ll Love This Cheesy Grilled Roll Ups Recipe Recipe
- Nostalgic and Comforting: This recipe will bring back memories of cozy after school snacks and late-night cravings, making it perfect for a comforting treat.
- Versatile Options: Whether you prefer just cheese or classic ham and cheese, these roll ups offer a variety of options to suit your taste preferences.
- Protein-Packed: With the addition of ham, these roll ups are high in protein, making them a satisfying and filling snack or meal.
- Family-Friendly: Kids will love helping to make and eat these roll ups, making it a fun activity for the whole family.
- Easy to Store and Reheat: Leftover roll ups can be stored in the fridge for a few days or frozen for later, and they can easily be reheated for a quick and convenient snack.
- Customizable: Experiment with different fillings such as turkey, tomato, or different types of cheese to create your own unique flavor combinations.
- Perfect for Pairing: These roll ups pair well with a variety of sides and dipping sauces, making them a versatile option for any occasion.
- American Classic with a Twist: This recipe puts a fun twist on the classic grilled cheese sandwich, making it a shareable and lunchbox-friendly option that everyone will enjoy.
- Quick and Easy Assembly: With simple ingredients and easy cleanup, these grilled cheese roll ups are a fuss-free snack or meal option that is perfect for busy days.
Ingredients for Cheesy Grilled Roll Ups Recipe
Main Ingredients
- 1 cup thinly shredded cheese
- 6 thin slices ham
- 6 slices white sandwich bread
For Cooking
- 2 tablespoons unsalted butter
Pro Tips for Cheesy Grilled Roll Ups Recipe
For perfect Grilled Cheese Roll Ups every time, use thin ham slices to add a delicious flavor dimension. Secure the roll ups with toothpicks before pan-frying to prevent them from unraveling. Remember to remove the toothpicks before serving to avoid any accidents.
To achieve the ideal texture, make sure to use soft sandwich bread that flattens easily and rolls up without breaking. Whether you prefer white or wheat bread, both work well for this recipe. Serve the roll ups hot and straight from the pan for the best taste experience. Pair them with tomato soup, dipping sauces, or serve as tasty party snacks for a crowd-pleasing treat.
How to Make Cheesy Grilled Roll Ups Recipe
Step 1: Prepare the Bread
Using a sharp knife, cut off the crusts from each slice of bread.
Step 2: Flatten the Bread
Using a rolling pin, flatten each bread slice gently.
Step 3: Add Cheese and Ham
Sprinkle shredded cheese evenly on top of each bread slice. Place a slice of ham on the cheese, if desired.
Step 4: Form Roll-Ups
Roll up each bread slice tightly and secure with toothpicks if necessary.
Step 5: Preheat Pan and Add Butter
Preheat a non-stick skillet over medium to medium-low heat, then melt the butter in the pan until evenly distributed.
Step 6: Cook Roll-Ups
Place the roll-ups seam side down and cook for 5 to 8 minutes, turning with tongs until all sides are evenly golden brown.
Step 7: Serve
Take the pan off the heat. If desired, cut each roll-up in half before serving while still warm.
📌 Pin for later!

Storage Tips
After preparing and enjoying the tasty Grilled Cheese Roll Ups, it’s essential to store any leftovers properly to maintain their deliciousness. Once cooled, wrap the remaining roll ups in foil or place them in an airtight container before storing them in the refrigerator. These roll ups can be kept fresh in the fridge for two to three days. When you’re ready to enjoy them again, simply reheat them quickly in a skillet or toaster oven to restore their crispiness.
If you want to save some Grilled Cheese Roll Ups for later enjoyment, you can freeze them as well. To freeze, place the roll ups on a tray first to freeze individually, then transfer them to a freezer bag for storage. When reheating from frozen, it’s best to do so without thawing directly on the skillet for optimal results. By following these storage tips, you can savor your Grilled Cheese Roll Ups beyond the initial serving and enjoy them whenever you crave a nostalgic and tasty snack.
Ingredient Substitutions
For a different flavor twist, feel free to experiment with various types of deli meats like turkey, chicken, or cooked bacon instead of ham. These alternatives can add a unique taste profile to your grilled cheese roll ups while still providing that delicious protein boost.
If you prefer a healthier option, consider using whole wheat or gluten-free bread in place of white sandwich bread. These bread varieties offer a more nutritious alternative without compromising on taste or texture. Additionally, swapping out the cheese for a dairy-free alternative can cater to those with dietary restrictions or preferences.
To elevate the flavors of your grilled cheese roll ups, try brushing the outside with garlic butter or sprinkling some dried herbs before cooking. This simple addition can enhance the overall taste and aroma of the dish, making it even more appetizing. Experimenting with different types of melty cheeses such as Monterey Jack or Swiss can also add depth and richness to your roll ups, providing a delightful cheesy experience with every bite.
Serving Suggestions
For a fun twist on a classic grilled cheese, try serving these roll ups with a side of warm tomato soup for dipping. The combination of gooey cheese and savory tomato flavors is sure to be a hit for kids and adults alike. Make it a complete meal by adding a side salad or some baby carrots for extra crunch.
To elevate the flavors of these grilled cheese roll ups, brush the outside with garlic butter before pan-frying or sprinkle them with dried herbs like oregano or basil. The added herbs will bring a fresh and aromatic element to the dish, making it a perfect appetizer for parties or a quick snack for any time of the day.
FAQs for Cheesy Grilled Roll Ups Recipe
Can I use different types of cheese for these grilled cheese roll ups?
Yes, you can use any melty cheese like cheddar, American, mozzarella, or a blend. Shredded cheese melts evenly and quickly, so feel free to experiment with different cheese varieties.
Can I make these grilled cheese roll ups ahead of time?
Absolutely! After cooling, wrap leftover roll ups in foil or place them in an airtight container in the fridge. They will stay fresh for two to three days. Reheat quickly in a skillet or toaster oven to restore crispiness. For longer storage, freeze them on a tray first, then transfer to a freezer bag. Reheat without thawing on the skillet for best results.
What are some variations I can try with these grilled cheese roll ups?
You can try using different types of deli meats like turkey, chicken, or cooked bacon for extra flavor instead of ham. Additionally, you can add thin slices of tomato for a fresh twist. Whole wheat or gluten-free bread can be used, and you can brush the outside with garlic butter or sprinkle with dried herbs for extra flair.
How do I ensure the grilled cheese roll ups stay intact while cooking?
Make sure to roll them tightly and secure them with toothpicks before pan-frying. Remember to remove the toothpicks before serving to avoid any accidents. Soft sandwich bread flattens easily and rolls up without breaking, so choose white or wheat bread for the best results.
Conclusion
Grilled Cheese Roll Ups are not just a tasty snack or a quick meal option, they are a versatile and customizable treat that can be enjoyed by everyone. Whether you stick to the classic cheese or get creative with different fillings and toppings, these roll ups are sure to bring smiles to your table.
So next time you’re in need of a comforting and easy-to-make dish, remember the simple joy of making and enjoying Grilled Cheese Roll Ups. Whip them up for a cozy night in, a playful appetizer at a gathering, or a delightful surprise for your loved ones. Embrace the nostalgia and warmth that these roll ups bring with each gooey, melty bite. Happy cooking, and may your kitchen be filled with the delicious aroma of Grilled Cheese Roll Ups!
📌 Pin for later!
Cheesy Grilled Roll Ups Recipe
“Easy Grilled Cheese Roll Ups – a gooey, golden treat using pantry basics, perfect for quick snacks or a cozy meal, sure to satisfy all ages.”
Prep Time10 Minutes
Cook Time8 Minutes
Total Time18 Minutes
CuisineAmerican
Skill LevelEasy
Servings3 Servings (6 roll-ups)
Ingredients
Main Ingredients
- 1 cup thinly shredded cheese
- 6 thin slices ham
- 6 slices white sandwich bread
For Cooking
- 2 tablespoons unsalted butter
Instructions
-
Prepare the Bread: Using a sharp knife, cut off the crusts from each slice of bread.
-
Flatten the Bread: Using a rolling pin, flatten each bread slice gently.
-
Add Cheese and Ham: Sprinkle shredded cheese evenly on top of each bread slice. Place a slice of ham on the cheese, if desired.
-
Form Roll-Ups: Roll up each bread slice tightly and secure with toothpicks if necessary.
-
Preheat Pan and Add Butter: Preheat a non-stick skillet over medium to medium-low heat, then melt the butter in the pan until evenly distributed.
-
Cook Roll-Ups: Place the roll-ups seam side down and cook for 5 to 8 minutes, turning with tongs until all sides are evenly golden brown.
-
Serve: Take the pan off the heat. If desired, cut each roll-up in half before serving while still warm.