Follow Me On Social Media!
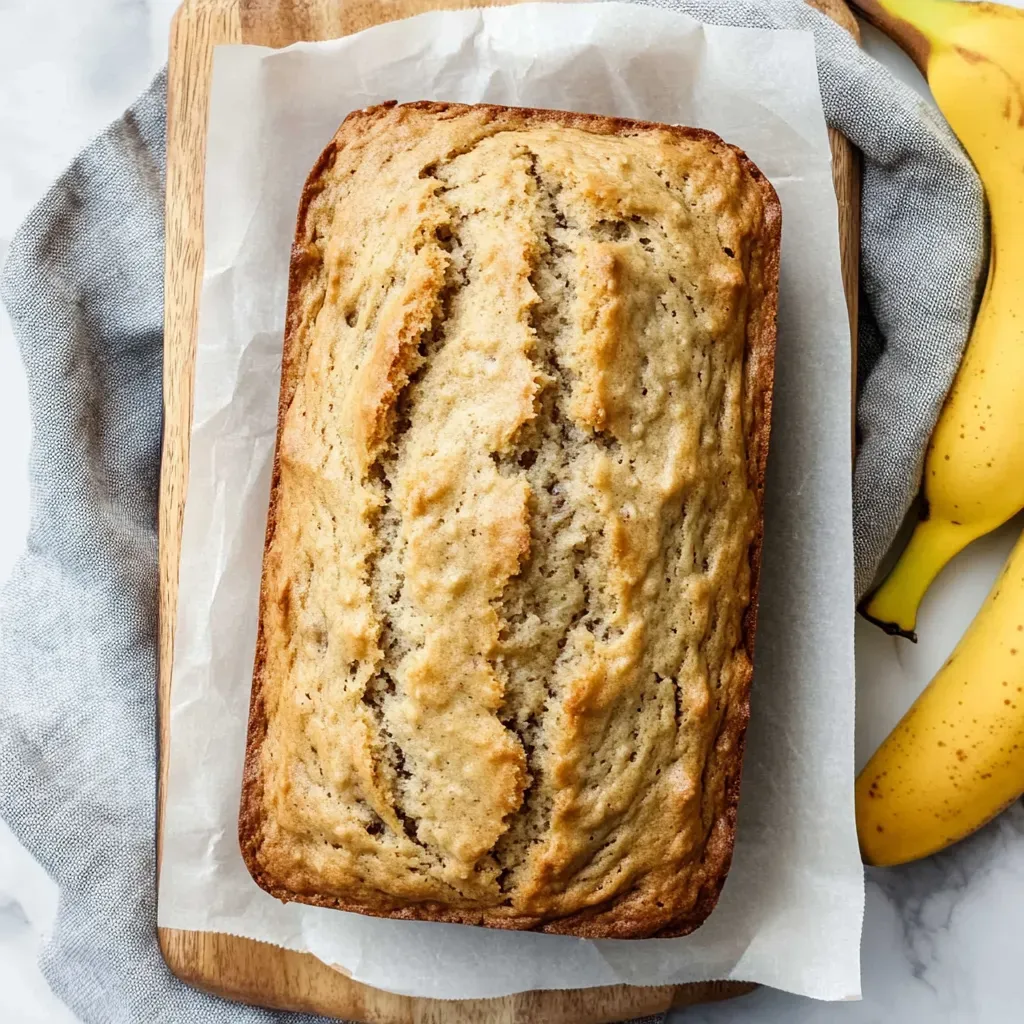
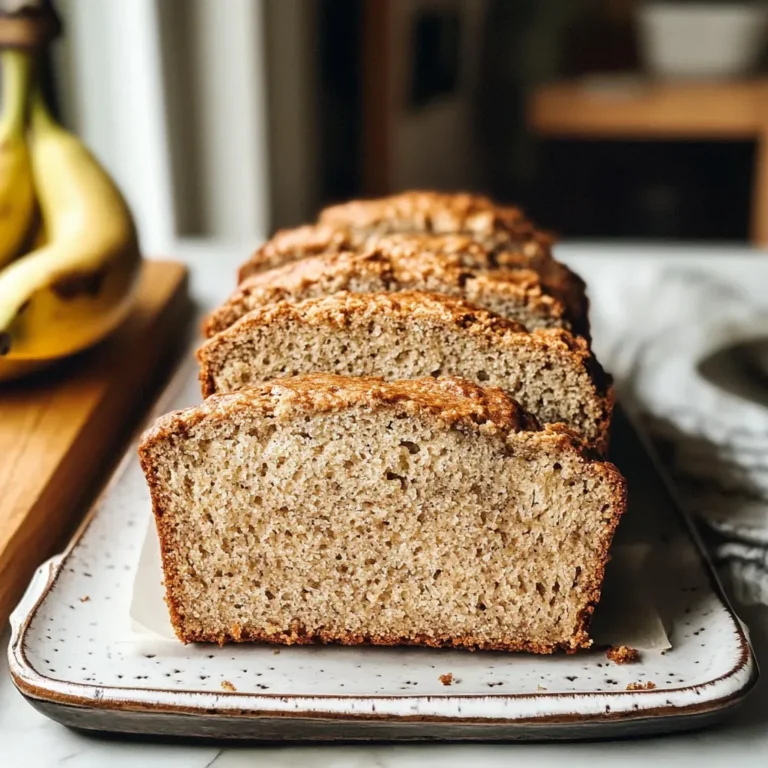
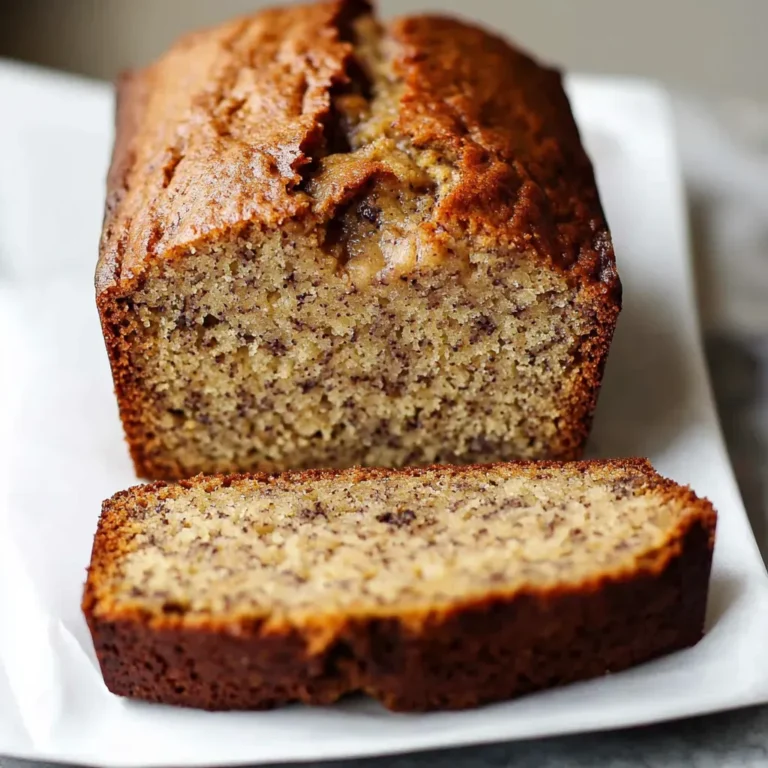
Looking for a quick and delicious treat that captures the essence of homemade goodness? Look no further than Tasty Banana Bisquick Bread! This delightful recipe is a game-changer, offering a brilliant shortcut to mouthwatering banana bread using DIY Bisquick mix.
Picture this: ripe bananas, a dash of vanilla, and a handful of simple ingredients coming together effortlessly to create a loaf of sheer perfection. The aroma of this Tasty Banana Bisquick Bread baking in your kitchen will have everyone gathering around in anticipation, eager for a slice of warm, comforting goodness.
Whether you’re a seasoned baker or just dipping your toes into the world of baking, this recipe is a must-try. With the versatility to customize by adding nuts, chocolate chips, or even coconut flakes, this bread promises to bring joy to your mornings or any time you crave a delightful homemade treat. Say hello to a hassle-free baking experience that doesn’t compromise on taste with Tasty Banana Bisquick Bread!
Quick Benefits
- Time-Saving: Ready in a flash, perfect for busy mornings
- Versatile: Easily customizable with creative additions like nuts, chocolate chips, or dried fruits
- Long-Lasting: Stays fresh at room temperature for 2-3 days, in the fridge for up to a week, or freezes well for up to three months
- Consistent Texture: Using room temperature ingredients ensures a well-mixed batter and evenly baked bread
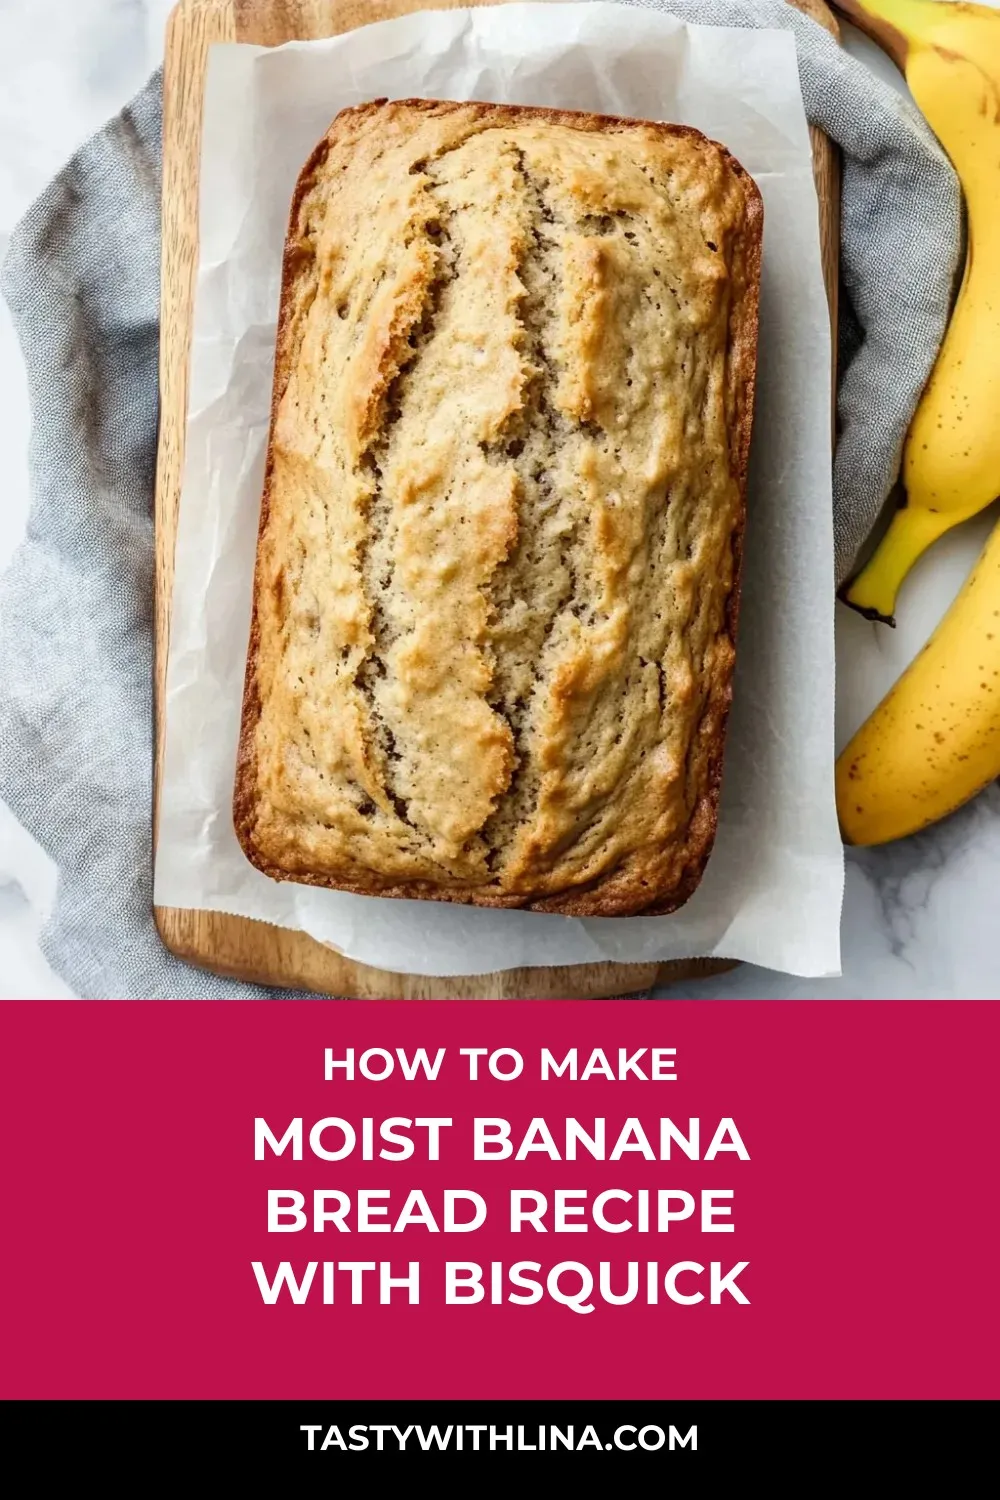
Why You’ll Love This Moist Banana Bread Recipe with Bisquick Recipe
- Time-saving Twist: This recipe uses homemade Bisquick mix for a juicy, soft loaf of banana bread ready in a flash, perfect for busy mornings or unexpected guests.
- Effortless and Hassle-Free: With just a few simple steps, you can have a freshly baked banana bread that will fill your kitchen with a delightful aroma, drawing everyone in.
- Versatile and Customizable: Add your favorite mix-ins like nuts, chocolate chips, dried fruits, coconut, or oats to create your own unique version of this tasty banana bread.
- Long-lasting Freshness: Store this bread in a sealed container at room temperature for 2-3 days, in the fridge for up to a week, or freeze it for three months, ensuring you always have a delicious snack on hand.
- Temperature Matters: Using room temperature ingredients like eggs and milk ensures a well-mixed batter and evenly baked bread, guaranteeing a moist and tender texture in every slice.
- Shortcut Satisfaction: Enjoy the same comfort and flavor of traditional banana bread with half the effort, proving that sometimes the simplest methods result in the most delicious treats.
Ingredients for Moist Banana Bread Recipe with Bisquick
Main Components
- ¼ cup (54.5g) cooking oil
- ¼ cup (61g) full-fat milk
- 2 big eggs, not cold
- 1 teaspoon vanilla flavoring
- 3 big overripe bananas, squashed (roughly 1⅓ cups)
- ⅔ cup (133g) white sugar
- 2⅔ cups DIY Bisquick mix
Pro Tips for Moist Banana Bread Recipe with Bisquick
Pro Tip 1: For added variety, experiment with different mix-ins to customize your banana bread. Consider adding chopped nuts, chocolate chips, dried fruits, shredded coconut, or oats to create unique flavor and texture combinations.
Pro Tip 2: To ensure the best texture and consistent results, use room temperature ingredients. Let your eggs sit out for about an hour before baking, and avoid using cold milk. This attention to detail will help you achieve a well-mixed batter and evenly baked banana bread.
Pro Tip 3: To extend the shelf life of your banana bread, store it properly. Keep it at room temperature in a sealed container for 2-3 days, or wrap it in plastic and foil to refrigerate for up to a week. You can also freeze the bread for up to three months, making it a convenient option for using up excess bananas or preparing ahead of time.
How to Make Moist Banana Bread Recipe with Bisquick
Step 1: Get Ready
Preheat the oven to 350°F and grease a 9×5-inch loaf pan with cooking spray.
Step 2: Blend Everything
In a large bowl, combine bananas, sugar, milk, oil, vanilla, and eggs. Stir in the homemade Bisquick until just combined.
Step 3: Cook It
Pour the mixture into the greased pan and bake for 63-65 minutes. Check for doneness by inserting a toothpick; it should come out mostly clean.
Step 4: Let Rest
Allow the bread to cool completely for approximately 2 hours before slicing.
📌 Pin for later!
Storage Tips
Once the Tasty Banana Bisquick Bread is baked and cooled, it is essential to store it properly to maintain its freshness and flavor. For short-term storage, keep the bread at room temperature in a sealed container for 2-3 days. This allows the bread to stay moist and ready to eat for a few days.
If you need to store the banana bread for a longer period, you can refrigerate it. Wrap the bread in plastic wrap first and then foil before placing it in the refrigerator. The bread can last in the fridge for up to a week without compromising its taste or texture.
For extended storage, consider freezing the banana bread. Wrap the cooled bread tightly in plastic wrap and then place it in a freezer-safe bag or container. The bread can be frozen for up to three months. Freezing is a great option for preserving multiple loaves or for saving some for future enjoyment. Remember to thaw the bread in the refrigerator before serving for the best results.
Ingredient Substitutions
For a healthier twist, you can substitute some of the white sugar with alternatives like honey, maple syrup, or coconut sugar. These natural sweeteners can add a different depth of flavor to your banana bread while reducing the overall refined sugar content.
If you prefer a dairy-free option, you can replace the full-fat milk with almond milk, coconut milk, or any other plant-based milk of your choice. This swap will still provide the necessary liquid for the batter while accommodating dietary preferences or restrictions.
To make this recipe gluten-free, you can swap the DIY Bisquick mix with a gluten-free flour blend. There are many gluten-free flour options available, such as almond flour, rice flour, or a pre-made gluten-free flour mix, that can work well in this banana bread recipe. Just ensure the gluten-free flour blend includes a leavening agent like baking powder or baking soda to help the bread rise properly.
Serving Suggestions
For a fun twist on serving this Tasty Banana Bisquick Bread, try cutting it into thick slices and toasting them lightly in a pan with a bit of butter. This will give the bread a crunchy exterior while keeping the inside soft and moist. Serve the warm slices with a dollop of whipped cream or a drizzle of honey for a delightful breakfast or snack that’s sure to impress your guests.
Another creative way to serve this delicious banana bread is by turning it into a decadent dessert. Cut the bread into cubes and layer them in a glass with alternating layers of vanilla custard or pudding. Top it off with a sprinkle of cinnamon or a few banana slices for a stunning trifle-like treat that showcases the flavors of the bread in a whole new way. This elegant dessert is perfect for special occasions or dinner parties where you want to wow your guests with a unique and flavorful dish.
FAQs for Moist Banana Bread Recipe with Bisquick
Can I use store-bought Bisquick mix instead of DIY Bisquick mix in this recipe?
Yes, you can substitute store-bought Bisquick mix for the DIY version in this recipe. The texture and flavor may vary slightly, but it should still work well.
Can I use frozen bananas for this banana bread?
Yes, you can use frozen bananas for this recipe. Thaw the bananas before squashing them, and consider draining any excess liquid to prevent the bread from becoming too moist.
Can I omit the sugar or reduce the amount in this recipe?
While sugar adds sweetness and moisture to the banana bread, you can reduce the amount to suit your preference. Omitting the sugar entirely may result in a less sweet and moister bread.
Can I add nuts or chocolate chips to this banana bread?
Absolutely! Feel free to add chopped nuts, chocolate chips, dried fruits, shredded coconut, or oats to the batter for extra flavor and texture. Just fold them in gently before pouring the batter into the loaf pan.
Conclusion
In conclusion, Tasty Banana Bisquick Bread is a delightful twist on a classic recipe that brings together the convenience of Bisquick mix with the delicious flavors of homemade banana bread. Whether you’re a seasoned baker looking for a quick fix or a beginner eager to whip up something scrumptious, this recipe is sure to become a staple in your kitchen. The versatility of this bread allows for endless variations, making it a fun and creative baking project each time you make it.
So, gather your ripe bananas, heat up the oven, and let the aroma of freshly baked Tasty Banana Bisquick Bread fill your home. Remember, baking is all about enjoying the process and savoring the results, and this recipe offers both in abundance. Give it a try and discover for yourself how a simple shortcut can lead to a truly delectable treat that will have everyone coming back for more.
📌 Pin for later!
Moist Banana Bread Recipe with Bisquick
“Whip up a juicy, soft loaf of Banana Bisquick Bread in a flash for a warm, comforting treat that’s perfect for busy mornings.”
Prep Time10 Minutes
Cook Time63 Minutes
Total Time73 Minutes
CuisineAmerican
Skill LevelEasy
Servings12 Servings (12 slices)
Ingredients
Main Components
- ¼ cup (54.5g) cooking oil
- ¼ cup (61g) full-fat milk
- 2 big eggs, not cold
- 1 teaspoon vanilla flavoring
- 3 big overripe bananas, squashed (roughly 1⅓ cups)
- ⅔ cup (133g) white sugar
- 2⅔ cups DIY Bisquick mix
Instructions
-
Get Ready: Preheat the oven to 350°F and grease a 9×5-inch loaf pan with cooking spray.
-
Blend Everything: In a large bowl, combine bananas, sugar, milk, oil, vanilla, and eggs. Stir in the homemade Bisquick until just combined.
-
Cook It: Pour the mixture into the greased pan and bake for 63-65 minutes. Check for doneness by inserting a toothpick; it should come out mostly clean.
-
Let Rest: Allow the bread to cool completely for approximately 2 hours before slicing.