Follow Me On Social Media!
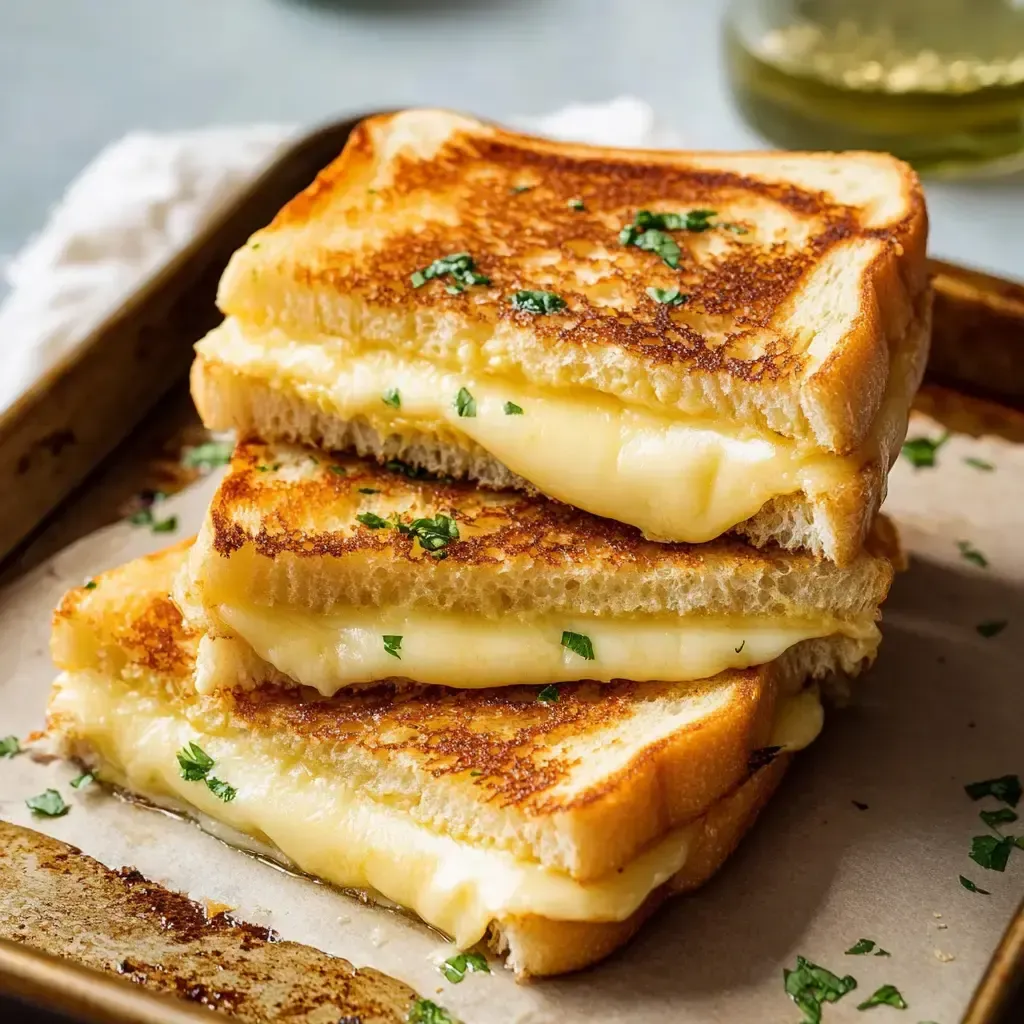
Are you ready to take your grilled cheese game to the next level? Let me introduce you to a game-changer: Crispy Cheese Pan Melts! This recipe will revolutionize the way you make grilled cheese sandwiches. No more standing by the stove, flipping them one by one. With this oven-baked sheet pan trick, you can whip up a whole batch of perfectly crispy and gooey sandwiches at once.
Imagine pulling out a tray of golden-brown sandwiches, the outside boasting a delightful crunch from a sprinkle of Parmesan, while the inside oozes with a blend of Gruyère and sharp cheddar cheese. Trust me, once you try these Crispy Cheese Pan Melts, there’s no going back to the old stovetop method. Even the biggest stove aficionados will be won over by this foolproof technique!
Whether it’s a cozy night in with tomato soup or a bustling gathering with friends, these melty sandwiches are guaranteed to be a hit. Get creative with your fillings, experiment with different cheese combinations, or add a twist like bacon or a fried egg. The versatility of Crispy Cheese Pan Melts makes them a crowd-pleaser every time. So, roll up your sleeves, involve the family, and get ready to savor the cheesy goodness that awaits you in each bite!
Quick Benefits
- Convenience: Make multiple grilled cheese sandwiches at once without the need to flip them individually on the stove.
- Crispy Texture: Achieve a perfectly crispy outer layer from the parmesan cheese while keeping the inside gooey and full of melted cheese.
- Versatility: Experiment with different fillings like bacon, tomato, pepper jack, or even pepperoni, catering to different tastes and preferences.
- Make-ahead: Prepare the sandwiches in advance and keep them in the fridge or freezer, ready to bake when needed for a quick and easy meal solution.
Why You’ll Love This Cheesy Crispy Pan Melts Recipe Recipe
- Easy and Efficient Cooking: Make a whole batch of delicious grilled cheese sandwiches at once in the oven, saving time and effort compared to making them on the stove one by one.
- Crispy and Gooey Texture: Achieve a perfect balance of crispy outer layer and gooey melted cheese inside, elevating the classic grilled cheese experience.
- Versatile and Customizable: Experiment with different cheese combinations and add-ins like bacon, tomato, or pepperoni to cater to diverse tastes and preferences.
- Make-ahead Option: Prepare the sandwiches in advance, store them in the fridge, and bake when ready, making it convenient for busy schedules or entertaining friends.
- Family-friendly Activity: Get the whole family involved in the cooking process by grating cheese, assembling sandwiches, and enjoying the cheesy goodness together.
- Creative Flavor Combinations: From classic options to unique twists like adding a fried egg or turning it into a pizza version, there are endless possibilities to discover your favorite grilled cheese variation.
- Perfect Pairing: Serve these crispy cheese pan melts with a bowl of tomato soup for a comforting and satisfying meal that will please kids and adults alike.
- Satisfying and Crowd-pleasing: Whether it’s a casual dinner, a party appetizer, or a quick snack, these sandwiches are guaranteed to put a smile on everyone’s face with their cheesy deliciousness.
Ingredients for Cheesy Crispy Pan Melts Recipe
- 1/2 cup of softened unsalted butter.
- 4 ounces grated Gruyère cheese.
- 8 thick slices of white or sourdough bread.
- 1/4 cup Parmesan cheese, grated (optional).
- 8 ounces of sharp cheddar, grated.
Pro Tips for Cheesy Crispy Pan Melts Recipe
For perfect crispy cheese pan melts, make sure to keep your butter at room temperature for easy spreading on the bread. Shred your own cheese for the best melting results and flavor. To achieve the ultimate crunchiness, place the sheet pan on the oven’s bottom rack while baking.
Experiment with different fillings to elevate your crispy cheese melts. Try adding ingredients like bacon, tomato, pepper jack, or even a fried egg for a unique twist. Don’t be afraid to get creative with combinations like mozzarella and pepperoni for a pizza-inspired version. This recipe is versatile, so have fun customizing it to suit your preferences and discover your favorite flavor profiles.
How to Make Cheesy Crispy Pan Melts Recipe
Step 1: Prep
Preheat the oven to 400°F and line a baking sheet with parchment paper.
Step 2: Butter Bread
Spread butter on one side of each bread slice.
Step 3: Add Optional Parmesan
Optional: Sprinkle Parmesan over buttered sides and gently press in.
Step 4: Assemble
Place 4 bread slices butter-side down, top with cheeses, and cover with the remaining bread slices butter-side up.
Step 5: Bake
Begin baking on the lower oven rack for 4-5 minutes, then flip and bake for an additional 2-3 minutes until toasted.
Step 6: Serve
Allow the dish to cool for a bit before slicing and serving.
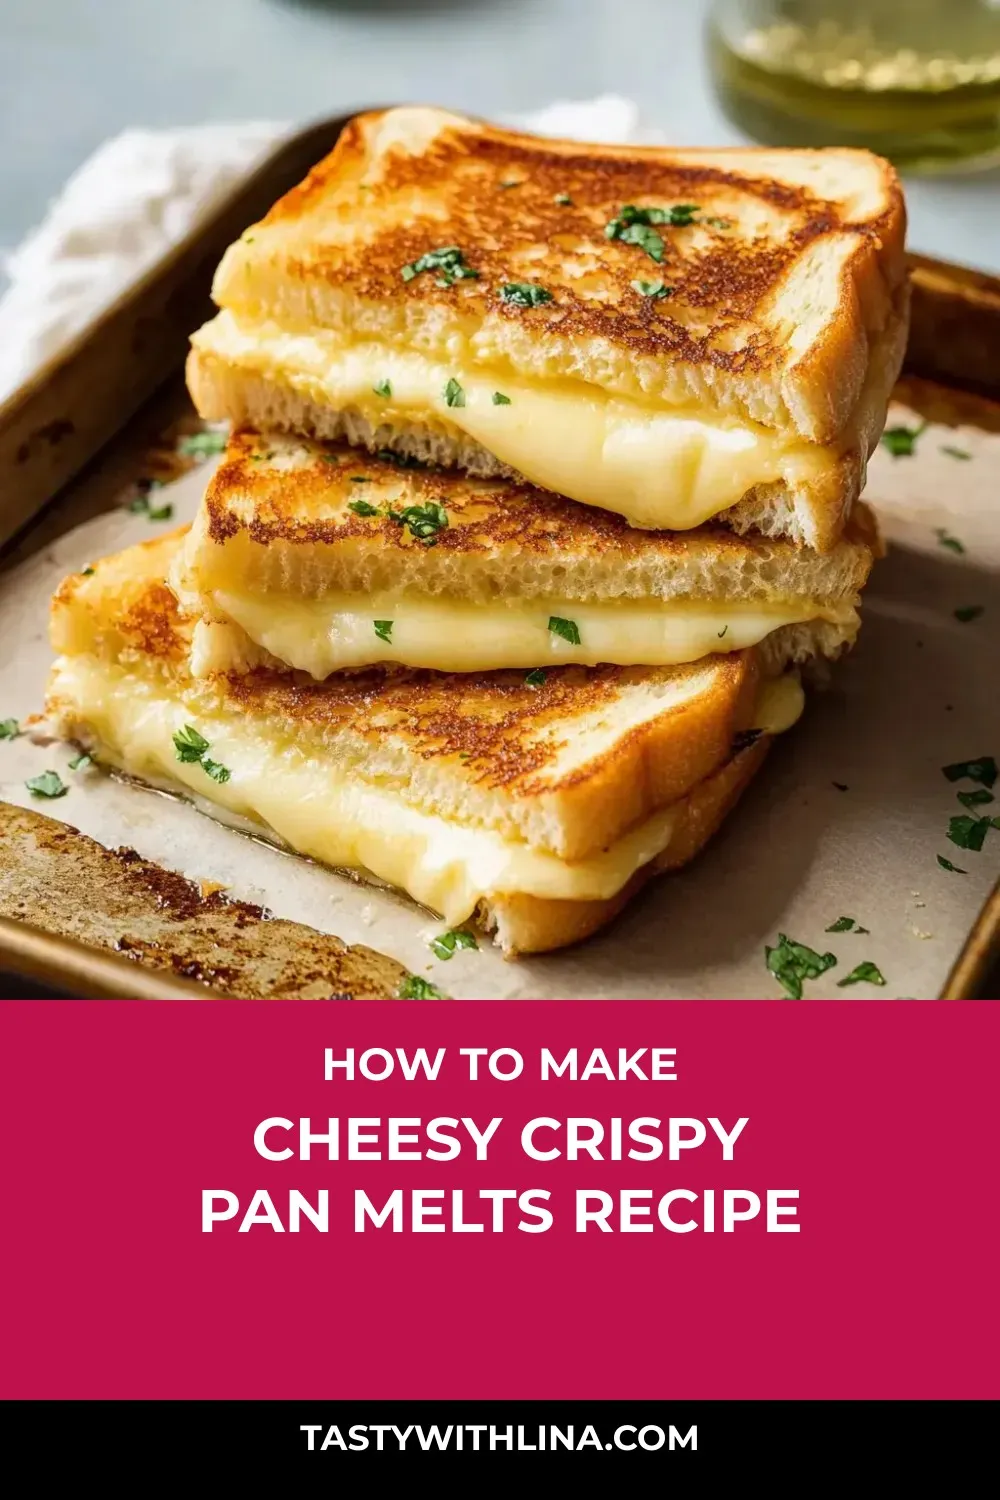
📌 Pin for later!
Storage Tips
Once you have made the Crispy Cheese Pan Melts, it is important to store any leftovers properly to maintain their texture and flavor. If you have any remaining sandwiches, you can stack them, cover them tightly, and store them in the refrigerator. This method is convenient for busy schedules or when hosting friends, as you can prepare the sandwiches ahead of time and simply bake them when needed. When ready to enjoy the refrigerated sandwiches, place them in the oven for reheating.
For longer storage, you can freeze the unbaked sandwiches. Simply wrap them well in plastic wrap or foil before placing them in the freezer. When you are ready to cook the frozen sandwiches, allow them extra time in the oven to ensure they are heated through. Freezing the unbaked sandwiches is a great way to have a quick and delicious meal option on hand for busy days. By following these storage tips, you can enjoy your Crispy Cheese Pan Melts even after they are initially prepared, maintaining their deliciousness for future meals.
Ingredient Substitutions
For potential ingredient substitutions in this recipe, you can experiment with different types of bread such as whole wheat, rye, or even gluten-free bread to suit dietary preferences or restrictions. Additionally, if you prefer a different flavor profile, you can swap out the cheeses with varieties like Swiss, mozzarella, fontina, or provolone. These substitutions can add a different taste and texture to the crispy cheese melts while still maintaining the gooey, cheesy goodness.
If you are looking to make this recipe more health-conscious, consider using olive oil or a spread like avocado butter as a substitute for the unsalted butter. You can also reduce the amount of cheese or opt for low-fat versions to cut down on the overall calorie and fat content while still enjoying a tasty and satisfying dish. Experimenting with these ingredient substitutions can help customize the recipe to your preferences or dietary needs while still achieving that crispy and melty perfection that makes these cheese pan melts a crowd-pleaser.
Serving Suggestions
To elevate the crispy cheese pan melts, consider serving them with a variety of dipping sauces such as marinara, garlic aioli, or ranch dressing. The combination of the crunchy exterior and gooey melted cheese with the flavorful dips will take this classic dish to a whole new level. For an added touch, sprinkle some fresh herbs like parsley or chives on top before serving to enhance the visual appeal and add a burst of freshness to each bite.
For a fun twist on the traditional presentation, cut the crispy cheese pan melts into smaller bite-sized squares and serve them on skewers for easy snacking at parties or gatherings. You can also garnish each square with a cherry tomato or olive to add a pop of color and flavor. This interactive and playful way of serving the sandwiches will surely be a hit with both kids and adults alike, making it a memorable dish for any occasion.
FAQs for Cheesy Crispy Pan Melts Recipe
Can I use a different type of bread for this recipe?
Absolutely! You can use any type of bread you prefer for these crispy cheese pan melts. White or sourdough bread works well, but feel free to experiment with your favorite bread varieties.
Can I use pre-shredded cheese instead of shredding my own?
While pre-shredded cheese can be convenient, I recommend shredding your own cheese for this recipe. Freshly shredded cheese melts more smoothly and results in a creamier texture compared to pre-shredded cheese, which often contains additives to prevent clumping.
Can I prepare these sandwiches in advance?
Yes, you can prepare the sandwiches in advance by stacking them and storing them covered in the fridge until you’re ready to bake. This is a great time-saving tip for busy schedules or when hosting friends. If you freeze the unbaked sandwiches, simply allow for extra baking time when you’re ready to cook them.
How can I customize the fillings of these sandwiches?
You can get creative with the fillings for these crispy cheese pan melts! Try adding ingredients like bacon, tomato, pepper jack cheese for heat, a fried egg for breakfast, or even pepperoni and mozzarella for a pizza-inspired version. Experimenting with different fillings is where you can discover your own favorite combinations.
Conclusion
I hope you enjoy making these delicious Crispy Cheese Pan Melts for your loved ones just as much as I do for mine. The beauty of this recipe lies in its simplicity and versatility. Feel free to get creative with your fillings and make it your own. Whether you stick to the classic cheese blend or experiment with different combinations, each bite promises a burst of cheesy goodness that will leave everyone smiling.
So, gather your ingredients, preheat your oven, and get ready to elevate your grilled cheese game with these Crispy Cheese Pan Melts. Remember, the secret to that perfect crunch and gooey melt is all in the technique. Once you try this sheet pan method, you’ll never go back to the stovetop again. Here’s to creating many more memorable moments around the table with these irresistible Crispy Cheese Pan Melts!
📌 Pin for later!
Cheesy Crispy Pan Melts Recipe
“Transform classic grilled cheese into crispy, melty perfection with this oven-baked recipe—perfect for easy family dinners or entertaining a crowd!”
Prep Time5 Minutes
Cook Time7 Minutes
Total Time12 Minutes
CuisineAmerican
Skill LevelEasy
Servings4 Servings (4 sandwiches)
Ingredients
- 1/2 cup of softened unsalted butter.
- 4 ounces grated Gruyère cheese.
- 8 thick slices of white or sourdough bread.
- 1/4 cup Parmesan cheese, grated (optional).
- 8 ounces of sharp cheddar, grated.
Instructions
-
Prep: Preheat the oven to 400°F and line a baking sheet with parchment paper.
-
Butter Bread: Spread butter on one side of each bread slice.
-
Add Optional Parmesan: Optional: Sprinkle Parmesan over buttered sides and gently press in.
-
Assemble: Place 4 bread slices butter-side down, top with cheeses, and cover with the remaining bread slices butter-side up.
-
Bake: Begin baking on the lower oven rack for 4-5 minutes, then flip and bake for an additional 2-3 minutes until toasted.
-
Serve: Allow the dish to cool for a bit before slicing and serving.