Creamy Baked Cheesecake
Introduction
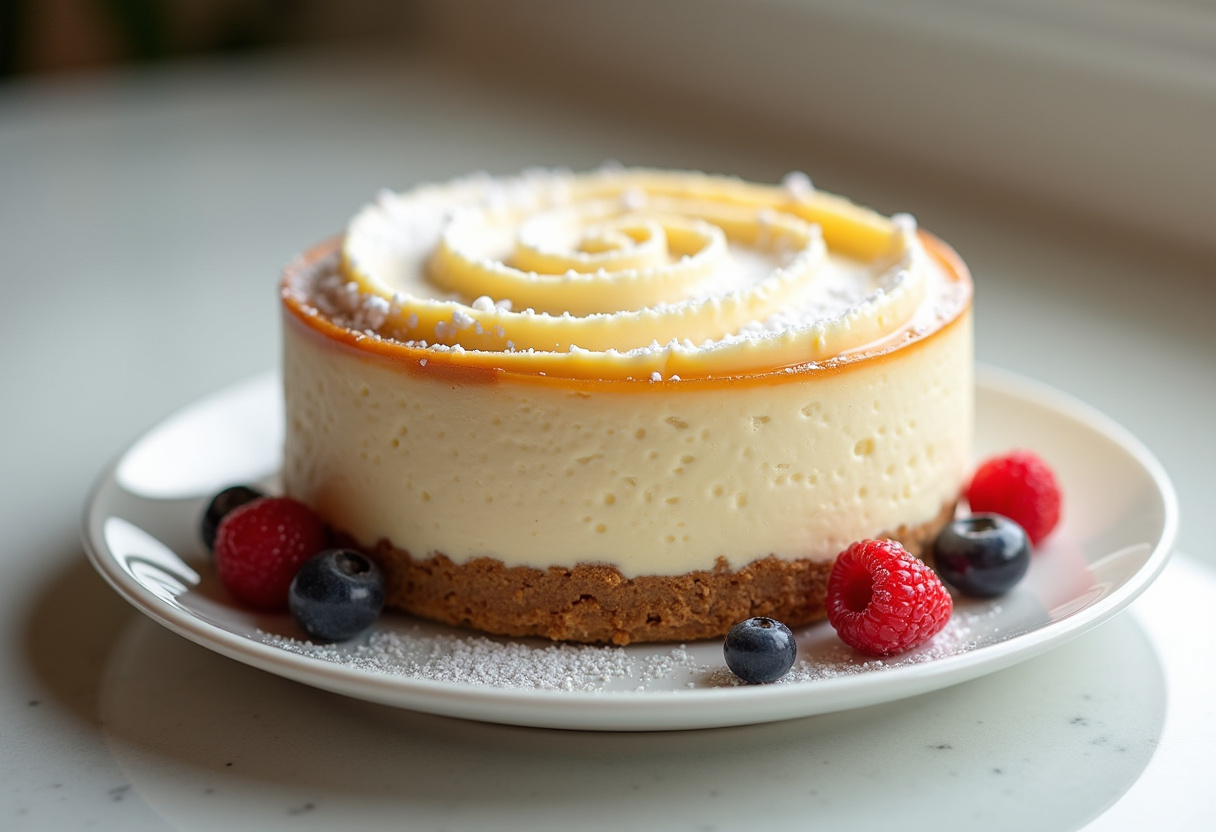
Creamy Baked Cheesecake is a luscious and indulgent dessert featuring a rich and silky texture complemented by a buttery graham cracker crust. This recipe is a go-to for special occasions or whenever you crave a decadent treat.
Why choose this Creamy Baked Cheesecake recipe?
This Creamy Baked Cheesecake recipe offers the perfect balance of a creamy, rich filling against a crisp, buttery crust. The baking method ensures a crack-free result every time, making it an impressive yet achievable dessert. Whether you’re entertaining guests or indulging at home, this recipe guarantees a delightful experience.
Ingredients for Creamy Baked Cheesecake
- 2 cups graham cracker crumbs
- 1/2 cup unsalted butter, melted
- 1/4 cup granulated sugar
- 4 (8 oz) packages cream cheese, softened
- 1 cup granulated sugar
- 1 teaspoon vanilla extract
- 4 large eggs
- 2/3 cup sour cream
- 2/3 cup heavy cream
Preparation Steps for Creamy Baked Cheesecake
Step 1: Prepare the Crust
To start, preheat the oven to 325°F (163°C). In a medium bowl, mix graham cracker crumbs, melted butter, and 1/4 cup sugar. Press the mixture firmly into a 9-inch springform pan to create the crust. Set aside for further use.
Step 2: Cream Cheese Filling
In a large mixing bowl, beat the softened cream cheese with 1 cup of sugar until smooth and creamy, typically taking around 3-4 minutes. Incorporate the vanilla extract into the mixture and blend thoroughly.
Step 3: Adding Eggs and Dairy
Gradually add eggs one at a time to the cream cheese mixture, ensuring each egg is fully incorporated on low speed. Be cautious not to overmix to avoid excess air. Next, blend in the sour cream and heavy cream until the mixture is smooth.
Step 4: Assemble and Bake
Pour the prepared cream cheese mixture over the crust in the springform pan. Bake the cheesecake in the preheated oven for 55-70 minutes until the center is nearly set with a slight jiggle while the edges turn lightly golden.
Step 5: Slow Cooling and Chilling
After baking, turn off the oven, crack the door open, and allow the cheesecake to cool inside for an hour. This gradual cooling process minimizes the risk of cracking. Once cooled, refrigerate the cheesecake for at least 4 hours or overnight before serving.
Health Benefits of Creamy Baked Cheesecake
Creamy Baked Cheesecake, although indulgent, can bring some benefits when consumed in moderation. The calcium content from the cream cheese can contribute to bone health, and the protein from the eggs and dairy products can aid in muscle repair and growth. However, it’s essential to enjoy this dessert as an occasional treat due to its high fat and sugar content.
Origin and History of the Creamy Baked Cheesecake Recipe
The origins of creamy baked cheesecake can be traced back to ancient Greece, where a simple version of cheesecake made with cheese, wheat flour, and honey was served to athletes during the first Olympic games. Over time, the recipe evolved, and the addition of cream cheese in America in the 18th century transformed it into the rich and creamy dessert we know today.
Delicious Variations Around Creamy Baked Cheesecake
While the classic creamy baked cheesecake is a timeless favorite, there are numerous creative variations to explore:
- Adding a lemon twist with lemon zest and juice for a refreshing flavor.
- Swirling in raspberry puree before baking for a fruity and visually appealing marbled effect.
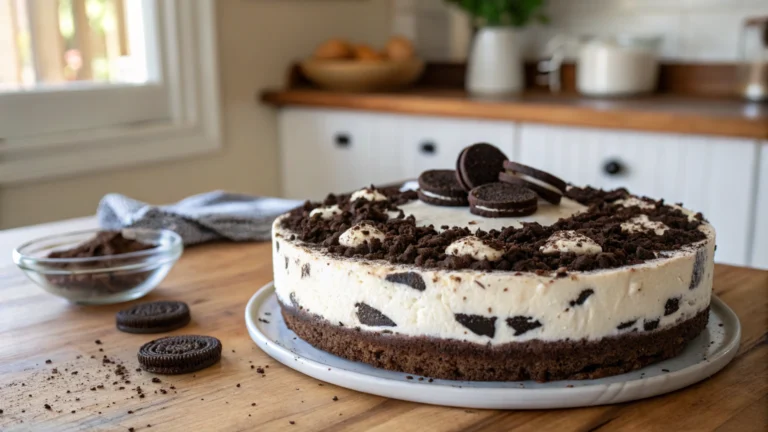
- Opting for a chocolate cookie crust instead of graham crackers for a more decadent base.
- Creating mini cheesecakes by using a muffin tin for individual servings.
- Preparing a gluten-free version using gluten-free graham cracker crumbs or cookies for those with dietary restrictions.
Chef’s Tips for Perfecting Your Creamy Baked Cheesecake
To ensure your creamy baked cheesecake turns out perfectly every time, consider these tips:
- When mixing the batter, avoid overmixing to prevent incorporating too much air, which can lead to cracks during baking.
- For a smooth texture, let the cream cheese come to room temperature before blending it with other ingredients.
- When baking, aim for the center of the cheesecake to be slightly jiggly but not completely set to prevent overcooking.
- Allow the cheesecake to cool gradually in the oven with the door cracked open to prevent cracks on the surface.
- Chill the cheesecake in the refrigerator for at least 4 hours or overnight before serving to enhance the flavors and texture.
Ingredient Alternatives for Creamy Baked Cheesecake
When it comes to making a creamy baked cheesecake, there are a few ingredient alternatives you can explore to customize your dessert:
- For a tangy twist, consider using Greek yogurt instead of sour cream for a slightly different flavor profile.
- If you prefer a lighter version, opt for low-fat cream cheese and light sour cream to reduce the calorie content.
- Experiment with different crust options like crushed Oreo cookies, gingersnaps, or even a nut-based crust for a unique taste.
Tips and Tricks to Perfect Your Creamy Baked Cheesecake
Creating the perfect creamy baked cheesecake requires attention to detail and a few insider tips:
- Ensure all your ingredients are at room temperature before mixing to prevent lumps in the batter.
- Avoid overbaking the cheesecake by checking for doneness when the center is slightly jiggly but not liquid.
- To avoid cracks on the surface, run a knife around the edge of the pan after baking to release any tension on the cake.
Side Dish Suggestions for Creamy Baked Cheesecake
While a creamy baked cheesecake is delicious on its own, you can enhance your dessert experience by serving it with complementary side dishes:
- Fresh berry compote adds a burst of fruity flavor that pairs beautifully with the creamy texture of the cheesecake.
- A dollop of lightly sweetened whipped cream or a drizzle of caramel sauce can elevate the richness of the dessert.
- Sprinkle toasted nuts or chocolate shavings on top for added crunch and visual appeal.
FAQ about the recipe Creamy Baked Cheesecake
How to store the recipe Creamy Baked Cheesecake after cooking?
After baking, let the cheesecake cool completely at room temperature. Once cooled, cover it tightly with plastic wrap or aluminum foil and store it in the refrigerator. Properly stored, the creamy baked cheesecake can last in the refrigerator for up to 5 days.
Can the recipe Creamy Baked Cheesecake be prepared in advance?
Absolutely! You can make the creamy baked cheesecake in advance to save time. Prepare the cheesecake as directed, let it cool, then cover it and store it in the refrigerator. It actually tastes even better the next day as the flavors have more time to meld together.
What ingredients can be substituted in the recipe Creamy Baked Cheesecake?
If you need to make substitutions, you can use light cream cheese instead of regular cream cheese for a lower-fat version. Additionally, you can swap the sour cream for Greek yogurt if you prefer a tangier taste. Experiment with different extracts like almond or lemon for unique flavor twists.
How to adapt the recipe Creamy Baked Cheesecake for a vegetarian version?
To make a vegetarian version of this creamy baked cheesecake, ensure that the cream cheese you use is vegetarian-friendly. Check the labels for any gelatin content. You can also substitute the eggs with a suitable egg replacer or a mixture of cornstarch and water.
Is the recipe Creamy Baked Cheesecake suitable for children?
Yes, this creamy baked cheesecake is suitable for children. However, if you have concerns about the sugar content, you can reduce the amount of sugar in the recipe or use natural sweeteners like honey or maple syrup. Get creative with toppings like fresh fruits to make it more appealing to kids.
Conclusion about the recipe Creamy Baked Cheesecake
This creamy baked cheesecake is a decadent and indulgent dessert that never fails to impress. Its rich, creamy texture and buttery crust make it a favorite for any occasion. Whether you’re celebrating a special event or simply craving a luxurious treat, this recipe delivers a perfect balance of flavors and textures. Take your time to savor each bite, and enjoy the satisfaction of creating a classic dessert that delights every time.
📌 Save This Recipe and Explore More Culinary Delights!
Love this recipe? Don’t lose it! Pin it now on Pinterest to keep it within reach whenever you need a quick and delicious idea. Sharing it with your followers also helps spread the love for easy and flavorful home cooking!
💡 Whether you’re planning your next weeknight dinner or preparing a special meal for guests, having your favorite recipes saved makes cooking easier and more enjoyable. Pinterest is a great way to organize your meal ideas, try new twists on classics, and come back to those dishes you can’t get enough of.
📲 While you’re there, be sure to follow our Pinterest page to get inspired by our latest creations — from comforting one-pot meals to healthy quick-fix ideas, seasonal treats, and much more. We regularly share new recipes that are simple, delicious, and perfect for everyday cooking.
📖 Ready for more inspiration? Visit our complete recipe archive on our dedicated recipe page. You’ll find dozens of easy-to-follow recipes designed to save you time in the kitchen while bringing great flavors to your table. Whether you’re a beginner or a seasoned cook, there’s something for everyone to explore!
✨ Don’t forget to bookmark your favorites and come back often — we’re always cooking up something new and exciting!