Hawaiian Butter Mochi
Introduction
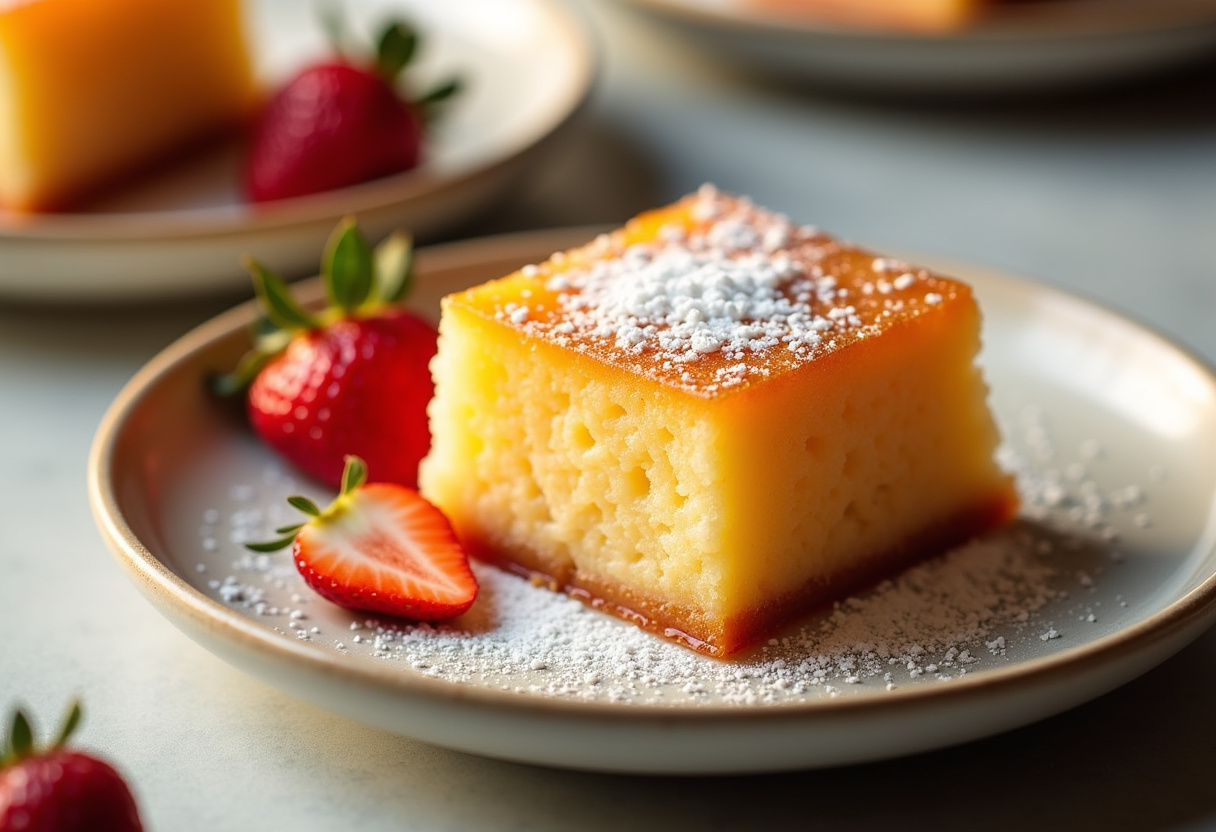
Indulge in the delectable flavors of Hawaiian Butter Mochi, a soft and chewy dessert that harmoniously blends the tropical essence of coconut milk with the buttery goodness of a classic treat. Whether you’re craving a sweet delight for a special occasion or simply pampering your taste buds, this recipe is sure to captivate your palate.
Why choose this Hawaiian Butter Mochi recipe?
Prepare to be enchanted by the perfect fusion of textures and flavors in this Hawaiian Butter Mochi. The chewy sweetness of sweet rice flour, the lusciousness of coconut milk, and the aromatic vanilla essence create a delightful symphony for your taste buds. The buttery undertones and subtle sweetness elevate each bite, making this dessert a memorable and irresistible choice for any dessert lover.
Ingredients for Hawaiian Butter Mochi
- 1 cup sweet rice flour (mochiko)
- 1 cup sugar
- 1/4 teaspoon salt
- 1 1/2 teaspoons baking powder
- 1/2 cup unsalted butter, melted
- 1 cup coconut milk
- 2 large eggs
- 1 teaspoon vanilla extract
- 1/2 cup whole milk
Preparation Steps for Hawaiian Butter Mochi
Step 1: Preheat the Oven and Prepare the Baking Pan
To kick off the preparation, preheat your oven to 350°F (175°C) and either grease a 9×9-inch baking pan or line it with parchment paper for easy removal later.
Step 2: Combine Dry Ingredients
In a medium-sized bowl, whisk together the sweet rice flour, sugar, baking powder, and salt until evenly blended.
Step 3: Mix Wet Ingredients
In a separate bowl, beat the eggs, then incorporate the melted butter, coconut milk, vanilla extract, and whole milk, stirring until the mixture is well combined.
Step 4: Combine Wet and Dry Ingredients
Gradually add the wet ingredients to the dry mixture, stirring until a smooth and uniform batter forms.
Step 5: Pour and Bake
Pour the batter into the prepared baking pan, smoothing the top with a spatula. Bake in the preheated oven for 50-55 minutes until the top turns golden brown and a toothpick inserted in the center comes out clean.
Step 6: Cool and Slice
Allow the Hawaiian Butter Mochi to cool completely in the pan. Once cooled, slice it into squares for serving.
Step 7: Serve and Enjoy
Delight in the delicious flavors and textures of your homemade Hawaiian Butter Mochi. Serve the squares on a plate and savor the chewy, buttery goodness with friends and family.
Health Benefits of Hawaiian Butter Mochi
Hawaiian Butter Mochi, despite being a delicious treat, offers some surprising health benefits. The coconut milk used in the recipe provides valuable nutrients like medium-chain triglycerides (MCTs) known for their potential to boost metabolism. Additionally, the sweet rice flour used is gluten-free, making this dessert a suitable option for individuals with gluten sensitivities. Enjoying this dessert in moderation can be a delightful way to treat yourself while also reaping some nutritional benefits.
Origin and History of the Hawaiian Butter Mochi Recipe
The origins of Hawaiian Butter Mochi can be traced back to the fusion of traditional Japanese mochi with the flavors of Hawaii. This unique dessert captures the essence of both cultures, blending the chewy texture of mochi with the tropical sweetness of coconut milk. Over the years, Hawaiian Butter Mochi has become a beloved treat in Hawaii and beyond, celebrated for its rich taste and cultural significance.
Delicious Variations Around Hawaiian Butter Mochi
While the classic Hawaiian Butter Mochi recipe is undeniably delicious, there are various creative variations you can explore to add a twist to this traditional dessert. Consider incorporating ingredients like matcha powder for a subtle green tea flavor, or adding diced pineapple for a refreshing tropical touch. You can also experiment with different extracts such as almond or pandan to create unique flavor profiles that cater to your preferences.
Chef’s Tips for Perfecting Your Hawaiian Butter Mochi
To elevate your Hawaiian Butter Mochi baking experience, here are some expert tips to help you achieve a perfect outcome:
- Ensure your ingredients are at room temperature before mixing to promote even blending and a smoother batter consistency.
- For a more intense coconut flavor, opt for full-fat coconut milk instead of light versions.
- Allow the mochi to cool completely before slicing to achieve clean, neat squares without crumbling.
- Experiment with different toppings like toasted coconut flakes or a drizzle of caramel to enhance the visual appeal and taste of your Hawaiian Butter Mochi.
Ingredient Alternatives for Hawaiian Butter Mochi
While traditional Hawaiian Butter Mochi is already a delicious treat, there are some ingredient alternatives you can explore to add a unique twist to this classic dessert:
- Substitute coconut milk with almond milk for a nuttier flavor profile.
- Try using honey or maple syrup instead of sugar for a different level of sweetness.
- Experiment with different extracts like pandan or coconut for a more tropical taste.
Tips and Tricks to Perfect Your Hawaiian Butter Mochi
Mastering the art of making Hawaiian Butter Mochi can take some practice, but with these tips and tricks, you’ll be well on your way to creating a flawless batch every time:
- Ensure your ingredients are at room temperature before mixing to achieve a smooth batter.
- Avoid overmixing the batter to prevent a tough texture in the final product.
- Let the mochi cool completely before slicing to allow it to set and develop its signature chewy texture.
- For added flavor, toast the shredded coconut or nuts before sprinkling them on top of the mochi.
Side Dish Suggestions for Hawaiian Butter Mochi
Pairing your Hawaiian Butter Mochi with the right side dish can elevate your dessert experience. Here are some side dish suggestions that complement the flavors of this sweet treat:
- Fresh tropical fruits like pineapple or mango chunks for a refreshing contrast.
- A scoop of coconut or vanilla ice cream for a creamy and indulgent accompaniment.
- A drizzle of chocolate or caramel sauce for an added touch of decadence.
FAQ about the recipe Hawaiian Butter Mochi
How to store the recipe Hawaiian Butter Mochi after cooking?
To store the Hawaiian Butter Mochi after cooking, place any leftovers in an airtight container at room temperature for 2-3 days. For longer storage, keep it in the fridge for up to a week. To reheat, simply microwave a square for 10-15 seconds or enjoy it at room temperature.
Can the recipe Hawaiian Butter Mochi be prepared in advance?
Yes, you can prepare the Hawaiian Butter Mochi in advance. Simply follow the recipe as usual, bake it, and once cooled, store it according to the storage instructions provided. It’s a convenient dessert that you can enjoy freshly made or prepared ahead of time.
What ingredients can be substituted in the recipe Hawaiian Butter Mochi?
For a vegetarian version of the Hawaiian Butter Mochi, you can substitute the unsalted butter with a dairy-free butter alternative and use coconut milk in place of whole milk. These substitutions will maintain the rich and tropical flavors of the dish.
How to adapt the recipe Hawaiian Butter Mochi for a vegetarian version?
To adapt the Hawaiian Butter Mochi for a vegetarian version, you can follow the ingredient substitution mentioned above. By using dairy-free butter and coconut milk, you can create a delicious vegetarian version of this dessert.
Is the recipe Hawaiian Butter Mochi suitable for children?
Indeed, the Hawaiian Butter Mochi is suitable for children. Its soft, chewy texture and delightful sweetness make it a kid-friendly treat. You can adjust the sweetness level to suit their taste preferences and introduce them to this unique and delicious dessert.
Conclusion about the recipe Hawaiian Butter Mochi
Creating Hawaiian Butter Mochi is a delightful experience that brings together the flavors of coconut milk, sweet rice flour, and butter into a perfect harmony of taste and texture. Whether enjoyed warm or at room temperature, this dessert is a crowd-pleaser that can be customized with various toppings and flavorings. With its easy preparation and versatility, Hawaiian Butter Mochi is sure to become a favorite for any occasion.
📌 Save This Recipe and Explore More Culinary Delights!
Love this recipe? Don’t lose it! Pin it now on Pinterest to keep it within reach whenever you need a quick and delicious idea. Sharing it with your followers also helps spread the love for easy and flavorful home cooking!
💡 Whether you’re planning your next weeknight dinner or preparing a special meal for guests, having your favorite recipes saved makes cooking easier and more enjoyable. Pinterest is a great way to organize your meal ideas, try new twists on classics, and come back to those dishes you can’t get enough of.
📲 While you’re there, be sure to follow our Pinterest page to get inspired by our latest creations — from comforting one-pot meals to healthy quick-fix ideas, seasonal treats, and much more. We regularly share new recipes that are simple, delicious, and perfect for everyday cooking.
📖 Ready for more inspiration? Visit our complete recipe archive on our dedicated recipe page. You’ll find dozens of easy-to-follow recipes designed to save you time in the kitchen while bringing great flavors to your table. Whether you’re a beginner or a seasoned cook, there’s something for everyone to explore!
✨ Don’t forget to bookmark your favorites and come back often — we’re always cooking up something new and exciting!