Homemade Cherry Pie Filling
Introduction
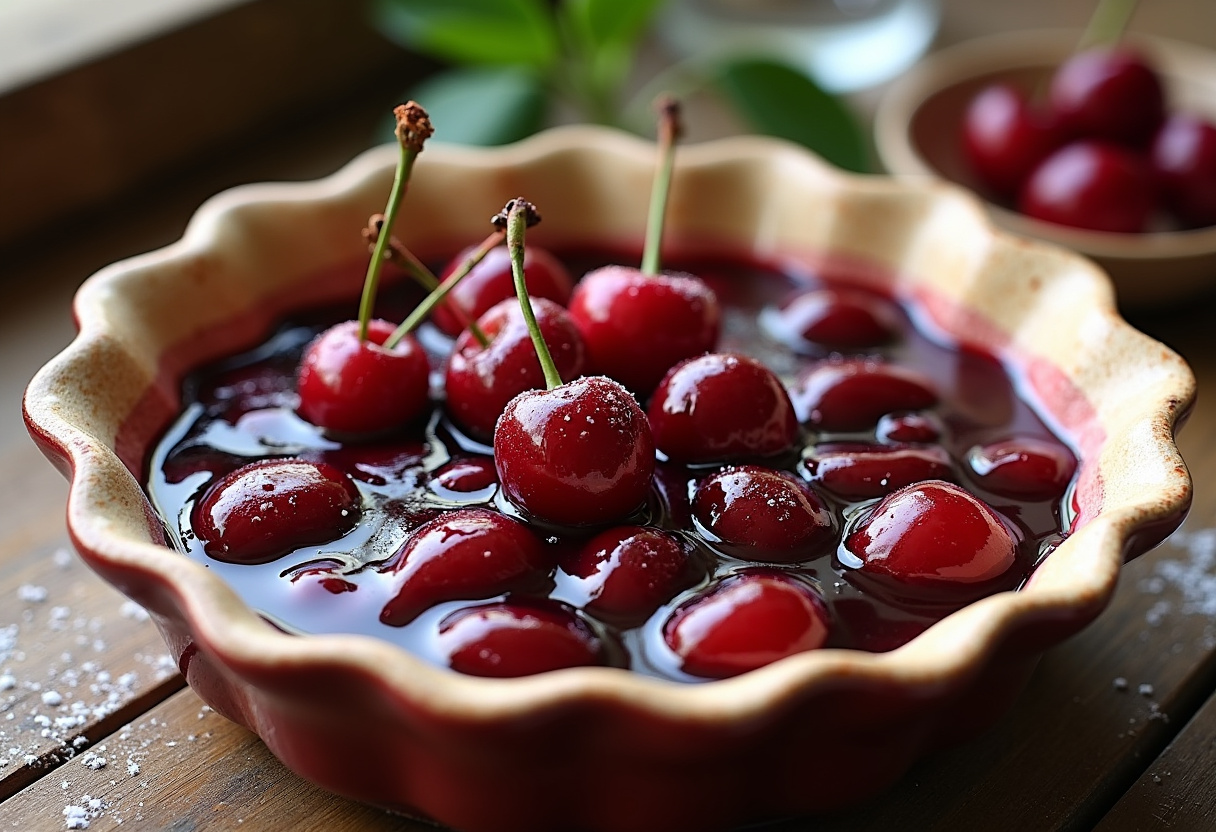
Indulging in a slice of cherry pie is a delightful experience, especially when it’s made with fresh ingredients. This homemade cherry pie filling recipe is simple to prepare and is perfect for pies, tarts, and other desserts. Whether you’re using fresh cherries from your garden or frozen ones from the store, this filling will elevate your desserts to a new level of deliciousness.
Why choose this Homemade Cherry Pie Filling recipe?
Creating your own homemade cherry pie filling allows you to control the quality of ingredients and tailor the sweetness to your preference. By making this filling from scratch, you can avoid artificial additives and enjoy the natural taste of cherries in your desserts. Additionally, the process is straightforward, making it a rewarding and satisfying cooking experience.
Ingredients for Homemade Cherry Pie Filling
- 4 cups fresh or frozen cherries, pitted
- 1 cup granulated sugar
- 1/4 cup cornstarch
- 1/4 tsp salt
- 1 tbsp lemon juice
- 1/2 cup water
- 1/2 tsp almond extract (optional)
Preparation Steps for Homemade Cherry Pie Filling
Step 1: Combine Cherries and Ingredients
In a large saucepan, combine the pitted cherries, granulated sugar, cornstarch, salt, lemon juice, and water. Ensure all ingredients are well mixed to create a flavorful base for your cherry pie filling.
Step 2: Cook the Mixture
Place the saucepan over medium heat and cook the cherry mixture, stirring frequently. Allow the mixture to bubble and thicken, which typically takes around 5 to 10 minutes. Stirring prevents clumping and ensures a smooth consistency.
Step 3: Add Almond Extract (Optional)
If desired, enhance the cherry flavor by adding almond extract to the filling. Stir well to incorporate the extract and infuse a subtle nutty taste that complements the cherries beautifully.
Step 4: Cool Down the Filling
Once the cherry pie filling has reached the desired thickness, remove it from the heat and let it cool. Cooling the filling allows it to set and intensifies the flavors, preparing it for use in various desserts.
Step 5: Incorporate into Desserts
Now that your homemade cherry pie filling is ready, use it to create delectable desserts. Whether you’re making a classic cherry pie, topping a cheesecake, or layering it in yogurt parfaits, this versatile filling will add a burst of fruity sweetness to your creations.
Health Benefits of Homemade Cherry Pie Filling
Indulging in a slice of cherry pie is a delightful experience, especially when it’s made with fresh ingredients. This homemade cherry pie filling recipe is simple to prepare and is perfect for pies, tarts, and other desserts. Whether you’re using fresh cherries from your garden or frozen ones from the store, this filling will elevate your desserts to a new level of deliciousness.
Origin and History of the Homemade Cherry Pie Filling Recipe
The origin of cherry pie dates back to ancient Egypt, where cherries were prized for their taste and health benefits. Over time, the recipe evolved, and today, homemade cherry pie filling is a popular choice for bakers looking to create sweet and tangy desserts.
Delicious Variations Around Homemade Cherry Pie Filling
While the classic homemade cherry pie filling is a favorite, there are several delicious variations to explore. You can add spices like cinnamon or nutmeg for a warm flavor, or experiment with different fruits like berries or peaches for a unique twist on the traditional recipe.
Chef’s Tips for Perfecting Your Homemade Cherry Pie Filling
For the perfect homemade cherry pie filling, ensure your cherries are ripe and juicy for the best flavor. Adjust the sugar level according to your taste preferences and consider adding almond extract for a subtle nutty undertone. Remember to cool the filling properly before using it in your desserts for the best results.
Mistakes to Avoid When Preparing Homemade Cherry Pie Filling
When making homemade cherry pie filling, there are some common mistakes that can affect the final result. One key mistake to avoid is overcooking the filling, as this can lead to a jam-like consistency rather than a luscious, juicy filling. Additionally, using too much cornstarch can make the filling overly thick and gloopy, so it’s essential to follow the recipe measurements accurately. Lastly, not properly cooling the filling before using it in a pie can result in a soggy crust, so be sure to allow it to cool completely before assembling your dessert.
Ingredient Alternatives for Homemade Cherry Pie Filling
While the classic homemade cherry pie filling recipe is delicious as is, there are some ingredient alternatives you can explore to customize the flavor. Consider swapping the granulated sugar with honey or maple syrup for a different sweetness profile. You can also experiment with different extracts like vanilla or even almond extract for a unique taste. For a tangy twist, try adding a splash of balsamic vinegar to complement the cherries’ natural flavor.
Tips and Tricks to Perfect Your Homemade Cherry Pie Filling
For a perfectly balanced homemade cherry pie filling, here are some tips and tricks to keep in mind. When pitting fresh cherries, use a cherry pitter or a sturdy straw to remove the pits efficiently. To enhance the cherry flavor, consider macerating the cherries in sugar before cooking them to draw out their natural juices. Additionally, if the filling turns out too runny, you can thicken it by creating a slurry of cornstarch and water and stirring it into the mixture gradually until you reach the desired consistency.
Side Dish Suggestions for Homemade Cherry Pie Filling
While homemade cherry pie filling is a versatile ingredient on its own, there are several creative ways to incorporate it into different dishes. Consider using the filling as a topping for vanilla ice cream or swirling it into a bowl of warm oatmeal for a decadent breakfast treat. You can also use the cherry filling as a filling for crepes or spread it on toast for a sweet snack. For a savory twist, pair the cherry filling with grilled pork chops or roasted chicken for a delightful flavor contrast.
FAQ about the recipe Homemade Cherry Pie Filling
How to store the recipe Homemade Cherry Pie Filling after cooking?
After cooking, allow the cherry pie filling to cool to room temperature. Store it in an airtight container in the refrigerator to maintain its freshness and flavor. Properly stored, the filling can last for about 5 to 7 days.
Can the recipe Homemade Cherry Pie Filling be prepared in advance?
Yes, you can definitely prepare the Homemade Cherry Pie Filling in advance. Once cooked, let it cool completely before transferring it to an airtight container. It can be stored in the refrigerator for a few days, making it a convenient addition to your dessert preparations.
What ingredients can be substituted in the recipe Homemade Cherry Pie Filling?
If you’re looking to substitute ingredients in the Homemade Cherry Pie Filling, consider using different sweeteners like honey or maple syrup instead of granulated sugar. You can also experiment with different fruit extracts or spices to customize the flavor according to your preferences.
How to adapt the recipe Homemade Cherry Pie Filling for a vegetarian version?
To adapt the Homemade Cherry Pie Filling for a vegetarian version, ensure that the ingredients used are free from any animal-derived products. Opt for plant-based alternatives like cornstarch for thickening and almond extract for flavor enhancement. This way, you can enjoy a delicious vegetarian cherry pie filling.
Is the recipe Homemade Cherry Pie Filling suitable for children?
The Homemade Cherry Pie Filling can be a delightful treat for children, especially when served in moderation. To make it more appealing to kids, you can adjust the sweetness level by reducing the amount of sugar used in the recipe. Pairing it with desserts like yogurt parfaits can make it a fun and tasty option for children.
Conclusion about the recipe Homemade Cherry Pie Filling
With this homemade cherry pie filling, you can create scrumptious desserts that your family and friends will love. So gather your ingredients, follow the simple steps, and enjoy the delightful taste of homemade goodness!
📌 Save This Recipe and Explore More Culinary Delights!
Love this recipe? Don’t lose it! Pin it now on Pinterest to keep it within reach whenever you need a quick and delicious idea. Sharing it with your followers also helps spread the love for easy and flavorful home cooking!
💡 Whether you’re planning your next weeknight dinner or preparing a special meal for guests, having your favorite recipes saved makes cooking easier and more enjoyable. Pinterest is a great way to organize your meal ideas, try new twists on classics, and come back to those dishes you can’t get enough of.
📲 While you’re there, be sure to follow our Pinterest page to get inspired by our latest creations — from comforting one-pot meals to healthy quick-fix ideas, seasonal treats, and much more. We regularly share new recipes that are simple, delicious, and perfect for everyday cooking.
📖 Ready for more inspiration? Visit our complete recipe archive on our dedicated recipe page. You’ll find dozens of easy-to-follow recipes designed to save you time in the kitchen while bringing great flavors to your table. Whether you’re a beginner or a seasoned cook, there’s something for everyone to explore!
✨ Don’t forget to bookmark your favorites and come back often — we’re always cooking up something new and exciting!