Sourdough Starter
Introduction
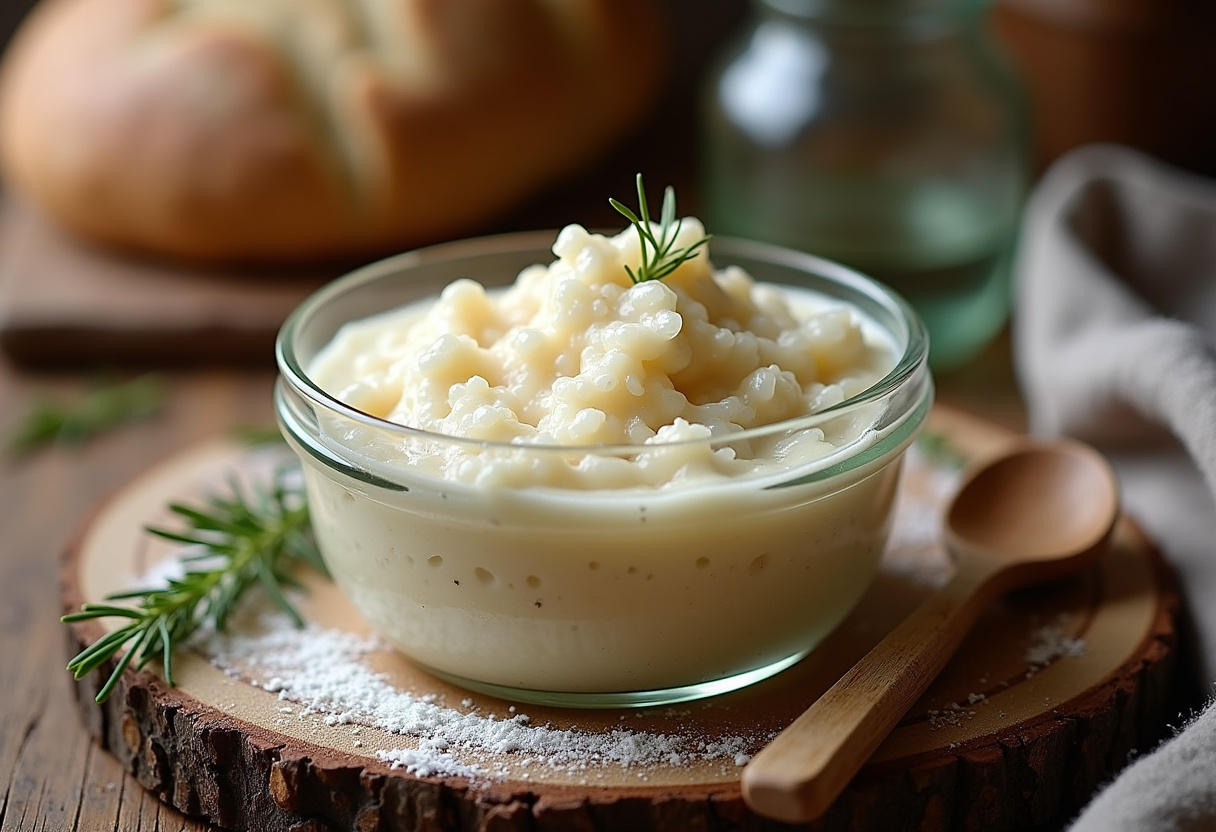
Creating a sourdough starter from scratch is a rewarding process that sets the foundation for delicious homemade bread. The tangy aroma and unique flavor of sourdough bread all begin with a simple sourdough starter. In this guide, we will delve into the step-by-step process of making your own sourdough starter, allowing you to customize the flavor profile of your bread to perfection.
Why choose this Sourdough Starter recipe?
By following this sourdough starter recipe, you gain complete control over the flavor development of your bread. The natural fermentation process involved in creating the starter introduces a complexity of flavors that are essential for that classic sourdough taste. Additionally, once your starter is active, you can use it for various sourdough recipes, from traditional loaves to more creative dishes like pizza dough and pancakes.
Ingredients for Sourdough Starter
- 1 cup of all-purpose flour
- 1/2 cup of lukewarm water
Preparation Steps for Sourdough Starter
Step 1: Mix Flour and Water
To begin, combine 1 cup of all-purpose flour with 1/2 cup of lukewarm water in a clean container. Stir the mixture until it is thoroughly combined, ensuring there are no lumps present.
Step 2: Cover and Rest
After mixing the flour and water, cover the container loosely with a clean kitchen towel or plastic wrap to allow airflow. Place the container in a cozy spot in your kitchen, away from direct sunlight, and let it rest.
Step 3: Allow Fermentation
Let the flour and water mixture sit at room temperature for approximately 24 hours to initiate the natural fermentation process. Keep an eye out for bubbles forming on the surface, indicating the activation of the starter.
Step 4: Discard and Feed
After 24 hours, discard half of the mixture to regulate acidity and yeast activity. Add 1/2 cup of all-purpose flour and 1/4 cup of lukewarm water to the remaining mixture. Stir until well combined to feed the starter.
Step 5: Repeat Feeding Routine
Continue the feeding routine by covering the container and letting it rest at room temperature for another 24 hours. Repeat this process daily, discarding half of the mixture and replenishing it with equal parts flour and water until the starter becomes bubbly and active.
Step 6: Patience is Key
Developing a fully active sourdough starter typically takes 5-7 days. Stay patient and consistent with the feeding routine to allow the starter to mature and develop its vibrant and flavorful characteristics.
Health Benefits of Sourdough Starter
Sourdough starter is not only essential for creating delicious bread, but it also offers several health benefits. The fermentation process involved in making sourdough starter helps break down gluten and phytic acid, making it easier to digest for those with gluten sensitivities. Additionally, sourdough bread made from a starter contains beneficial bacteria and yeasts that contribute to a healthy gut microbiome, supporting overall digestive health.
Origin and History of the Sourdough Starter Recipe
The tradition of sourdough starter dates back centuries, with origins traced to ancient Egypt. The earliest form of leavened bread was made using wild yeast and bacteria present in the environment. Over time, sourdough starter recipes evolved and spread to different cultures, becoming a staple in many traditional bread-making methods around the world.
Delicious Variations Around Sourdough Starter
While the classic sourdough starter recipe is a favorite among bakers, there are numerous delicious variations to explore. Experimenting with different types of flour, such as whole wheat or rye, can introduce unique flavors and textures to your sourdough bread. Adjusting water temperature and fermentation times also allows for customization, giving each loaf its distinct character.
Chef’s Tips for Perfecting Your Sourdough Starter
To master the art of sourdough starter, consistency and patience are key. Ensure to maintain a regular feeding schedule to keep your starter active and healthy. Monitoring the fermentation process and adjusting feeding ratios based on the starter’s activity level can help achieve optimal results. Remember, each sourdough starter is unique, so don’t be afraid to experiment and tailor the process to suit your baking preferences.
Mistakes to Avoid When Preparing Sourdough Starter
When creating a sourdough starter, there are some common mistakes to avoid to ensure successful fermentation. One of the most crucial mistakes is using chlorinated water, as it can inhibit the growth of natural yeast and bacteria. Additionally, neglecting to discard and feed the starter regularly can lead to a sluggish or overly acidic mixture. It’s also essential to maintain a consistent feeding schedule and temperature to promote a healthy and active starter.
Ingredient Alternatives for Sourdough Starter
While the traditional sourdough starter recipe calls for all-purpose flour and lukewarm water, there are various ingredient alternatives that can be used to customize the flavor profile of your starter. Consider experimenting with different types of flour such as whole wheat or rye to add unique characteristics to your sourdough. You can also explore using alternative liquids like fruit juices or herbal infusions to introduce new flavors to your starter.
Tips and Tricks to Perfect Your Sourdough Starter
Perfecting your sourdough starter requires patience and attention to detail. To ensure a robust and flavorful starter, maintain a consistent feeding schedule and observe the activity of the starter closely. Keep your starter in a warm and draft-free environment to promote fermentation, and adjust the feeding ratios based on the consistency and aroma of the mixture. Additionally, consider incorporating small amounts of mature starter into new feedings to enhance the yeast and bacteria population.
Side Dish Suggestions for Sourdough Starter
Once you have a vibrant and active sourdough starter, the culinary possibilities are endless. Beyond baking traditional sourdough bread, you can use your starter to create a variety of delicious side dishes. Try making sourdough pancakes for a flavorful breakfast treat, or use your starter to prepare savory sourdough waffles. You can also experiment with incorporating sourdough starter into pasta dough or biscuit recipes for a unique and tangy twist.
FAQ about the recipe Sourdough Starter
How to store the recipe Sourdough Starter after cooking?
To store the sourdough starter after cooking, transfer it to a clean, airtight container. Make sure to cover it with a lid or plastic wrap to prevent drying out. Store it in the refrigerator for up to a week. Remember to feed the starter regularly if you plan to keep it for an extended period.
Can the recipe Sourdough Starter be prepared in advance?
Yes, you can prepare the sourdough starter in advance. It’s actually recommended to allow enough time for the starter to develop its flavor and activity before using it in recipes. You can start the process a week before you plan to bake with it, ensuring a robust and flavorful starter.
What ingredients can be substituted in the recipe Sourdough Starter?
While the traditional sourdough starter recipe calls for all-purpose flour and water, you can experiment with different types of flour like whole wheat or rye. These variations can add unique flavors and textures to your starter. Just make sure to adjust the feeding routine accordingly based on the flour used.
How to adapt the recipe Sourdough Starter for a vegetarian version?
The recipe for the Sourdough Starter is inherently vegetarian as it only involves flour and water. To maintain a vegetarian version, ensure the flour you use is not enriched with any animal-derived ingredients. Stick to the basic ingredients and feeding routine to keep the starter vegetarian-friendly.
Is the recipe Sourdough Starter suitable for children?
Yes, the Sourdough Starter recipe is suitable for children, as it contains simple and safe ingredients. Involving children in the process of creating and feeding the starter can be a fun and educational experience. Just ensure proper hygiene practices are followed, especially when handling the starter to avoid any contamination.
Conclusion about the recipe Sourdough Starter
Creating your own Sourdough Starter opens up a world of possibilities in the realm of bread baking. The process may require patience, but the end result is a flavorful and versatile starter that can be used in various recipes. Experiment with different flours and feeding routines to customize the flavor profile to your liking. With a little care and attention, you’ll have a vibrant sourdough starter ready to elevate your baking game. Enjoy the journey of nurturing your starter and exploring the art of sourdough baking!
📌 Save This Recipe and Explore More Culinary Delights!
Love this recipe? Don’t lose it! Pin it now on Pinterest to keep it within reach whenever you need a quick and delicious idea. Sharing it with your followers also helps spread the love for easy and flavorful home cooking!
💡 Whether you’re planning your next weeknight dinner or preparing a special meal for guests, having your favorite recipes saved makes cooking easier and more enjoyable. Pinterest is a great way to organize your meal ideas, try new twists on classics, and come back to those dishes you can’t get enough of.
📲 While you’re there, be sure to follow our Pinterest page to get inspired by our latest creations — from comforting one-pot meals to healthy quick-fix ideas, seasonal treats, and much more. We regularly share new recipes that are simple, delicious, and perfect for everyday cooking.
📖 Ready for more inspiration? Visit our complete recipe archive on our dedicated recipe page. You’ll find dozens of easy-to-follow recipes designed to save you time in the kitchen while bringing great flavors to your table. Whether you’re a beginner or a seasoned cook, there’s something for everyone to explore!
✨ Don’t forget to bookmark your favorites and come back often — we’re always cooking up something new and exciting!