Spring Blossom Cookies
Introduction
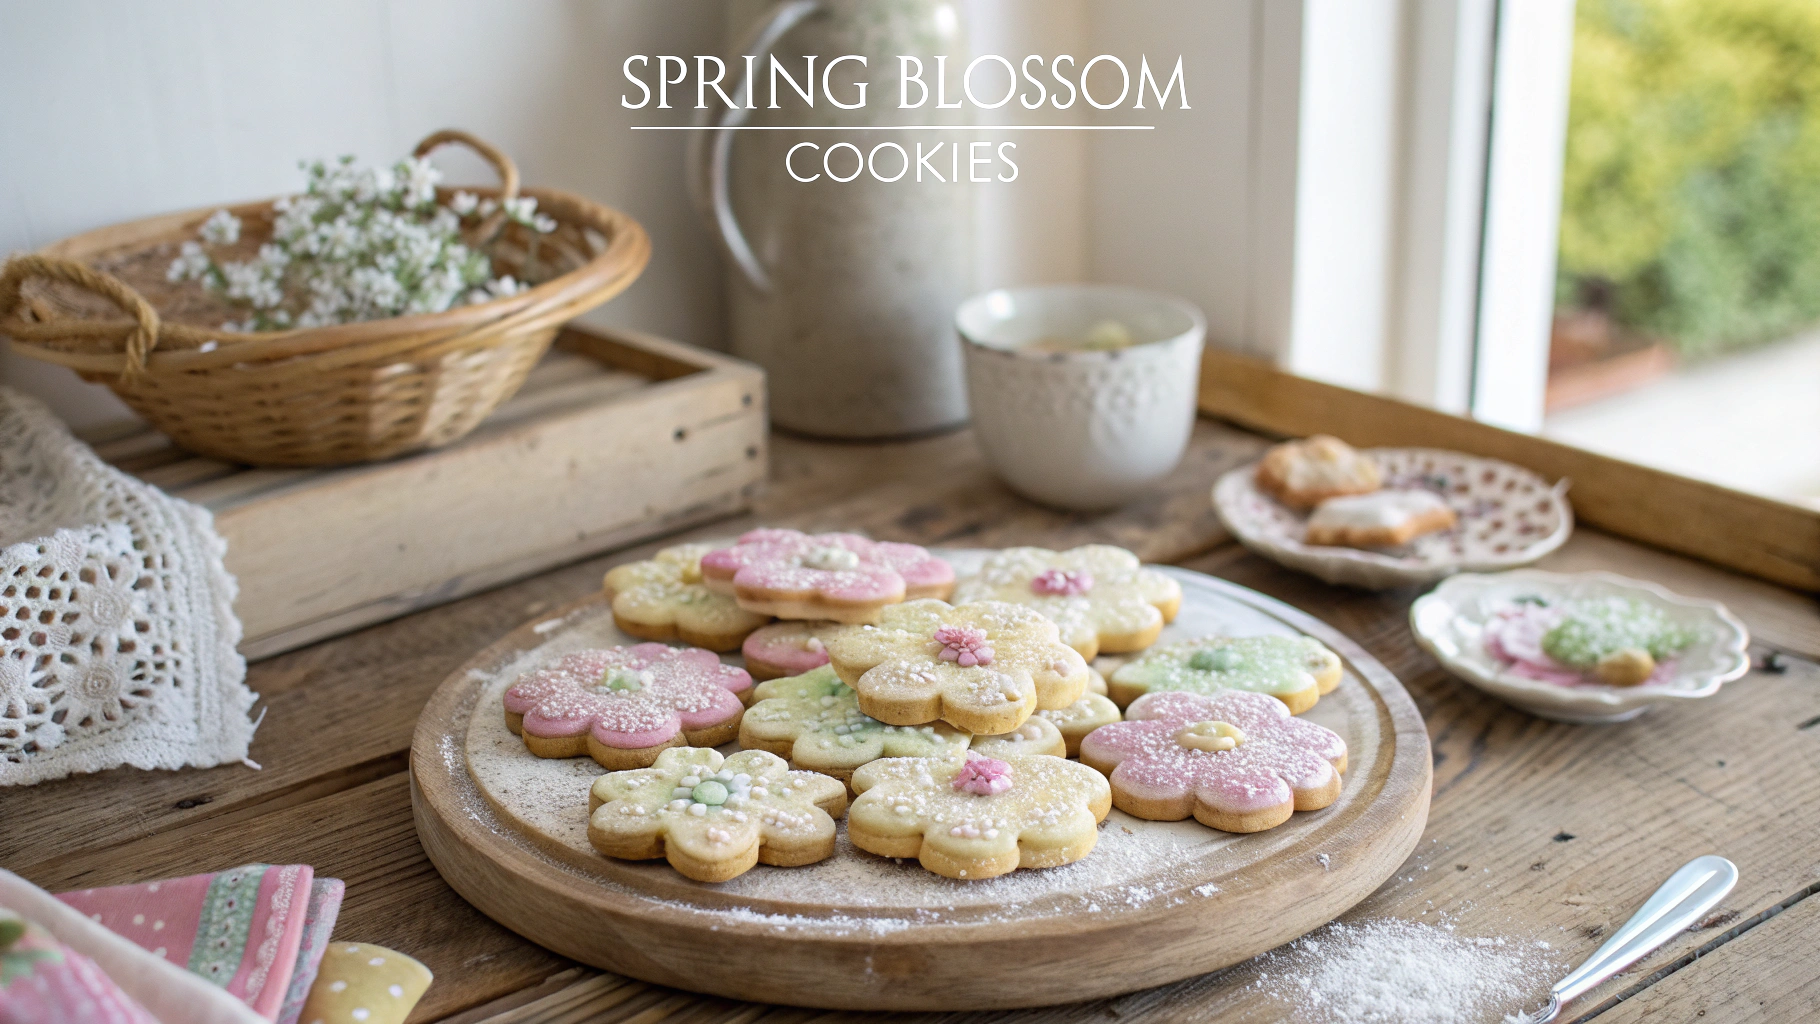
These soft and buttery Spring Blossom Cookies are adorned with colorful edible flowers, making them perfect for spring celebrations or as a delightful treat any time of the year. The delicate flavors and beautiful presentation make them a showstopper at brunches, garden parties, or even as a homemade gift.
Why choose this Spring Blossom Cookies recipe?
I love how these cookies bring a touch of nature to the table. They are simple to make yet look incredibly elegant, with their bright and vibrant edible flowers adding charm to every bite. The buttery, melt-in-your-mouth texture pairs perfectly with a subtle floral essence, making them as delicious as they are beautiful.
Ingredients for Spring Blossom Cookies
- 1 1/2 cups all-purpose flour
- 1/2 teaspoon baking powder
- 1/4 teaspoon salt
- 1/2 cup unsalted butter, softened
- 1/4 cup granulated sugar
- 1/4 cup powdered sugar
- 1 large egg
- 1 teaspoon vanilla extract
- Edible flowers (such as pansies, violets, or dandelions), for decoration
Preparation Steps for Spring Blossom Cookies
Step 1: Preheat the oven and prepare the baking sheet
Start by preheating the oven to 350°F (175°C) and lining a baking sheet with parchment paper to prevent sticking.
Step 2: Mix the dry ingredients
In a medium bowl, whisk together the flour, baking powder, and salt until evenly combined.
Step 3: Cream the butter and sugars
In a large bowl, beat the softened butter, granulated sugar, and powdered sugar until light and fluffy, typically taking about 2-3 minutes.
Step 4: Incorporate egg and vanilla extract
Add the egg and vanilla extract to the butter mixture, ensuring thorough mixing until a smooth consistency is achieved.
Step 5: Combine wet and dry ingredients
Gradually add the dry ingredients to the wet mixture, stirring until a soft dough forms. The dough should be soft but not sticky.
Step 6: Shape and decorate the cookies
Roll the dough into 1-inch balls and place them on the prepared baking sheet, ensuring they are spaced about 2 inches apart. Gently flatten each cookie and press an edible flower in the center of each, lightly embedding it into the dough.
Step 7: Bake the cookies
Bake the cookies in the preheated oven for 10-12 minutes, or until the edges turn lightly golden while the center remains soft.
Step 8: Cool and serve
Allow the cookies to cool on the baking sheet for 5 minutes before transferring them to a wire rack to cool completely. Serve and enjoy these delightful Spring Blossom Cookies!
Health Benefits of Spring Blossom Cookies
Spring Blossom Cookies, adorned with colorful edible flowers, not only please the taste buds but also offer some health benefits. Edible flowers are known for their rich antioxidant content, which helps in reducing inflammation and promoting overall well-being. Additionally, these cookies provide a dose of happiness with their vibrant appearance, contributing to mood enhancement and stress relief.
Origin and History of the Spring Blossom Cookies Recipe
The Spring Blossom Cookies recipe is a delightful fusion of culinary artistry and nature’s beauty. Originating from traditional cookie baking practices, this recipe evolved to incorporate edible flowers, symbolizing new beginnings and the essence of spring. The history of these cookies dates back to ancient civilizations that revered flowers for their medicinal and culinary uses, making them a symbol of purity and celebration.
Delicious Variations Around Spring Blossom Cookies
While the classic Spring Blossom Cookies recipe is a treat in itself, there are several creative variations to explore:
- Citrus Twist: Add lemon or orange zest for a refreshing flavor.
- Herbal Infusion: Enhance floral notes with lavender or rosemary.
- Chocolate Drizzle: Drizzle melted white or dark chocolate for a rich contrast.
- Gluten-Free Option: Use a gluten-free flour blend for a sensitive diet.
- Sugar Substitute: Opt for coconut sugar or maple syrup for a different sweetness.
Chef’s Tips for Perfecting Your Spring Blossom Cookies
To ensure your Spring Blossom Cookies turn out perfect every time, consider the following tips:
- Choose fresh and organic edible flowers for the best appearance and taste.
- Adjust the baking time for softer or crispier cookies according to your preference.
- Experiment with different flower combinations to create unique designs.
- Store the cookies properly to maintain freshness and flavor.
Mistakes to Avoid When Preparing Spring Blossom Cookies
When making Spring Blossom Cookies, it’s important to avoid a few common mistakes to ensure they turn out just right. One common error is using flowers that are not edible or safe for consumption. Always double-check that the flowers you are using are labeled as edible and have not been treated with any harmful chemicals.
Ingredient Alternatives for Spring Blossom Cookies
For those looking to switch up the ingredients in their Spring Blossom Cookies, there are a few alternatives you can consider. Instead of using traditional granulated sugar, you can experiment with using coconut sugar for a slightly different flavor profile. Additionally, if you’re out of vanilla extract, almond extract can be a tasty substitute that pairs well with the floral notes of the edible flowers.
Tips and Tricks to Perfect Your Spring Blossom Cookies
One useful tip for perfecting your Spring Blossom Cookies is to chill the dough before shaping and baking. This helps the cookies hold their shape better during baking and prevents them from spreading too much. Additionally, if you find that the flowers are browning too quickly in the oven, you can tent the cookies with foil halfway through baking to protect the delicate petals.
Side Dish Suggestions for Spring Blossom Cookies
While Spring Blossom Cookies are delicious on their own, they can be paired with a variety of side dishes to create a more elaborate dessert spread. Consider serving these cookies with a side of lavender-infused whipped cream for a floral twist, or alongside a scoop of lemon sorbet for a refreshing contrast to the buttery cookies.
FAQ about the recipe Spring Blossom Cookies
How to store the recipe Spring Blossom Cookies after cooking?
Once the Spring Blossom Cookies are baked and cooled, store them in an airtight container at room temperature for up to 5 days. For longer freshness, refrigerate them for up to 10 days. If you need to store them even longer, freeze the cookies in a single layer in an airtight container with parchment paper between layers. Remember to thaw them at room temperature before serving.
Can the recipe Spring Blossom Cookies be prepared in advance?
Yes, you can prepare the dough for the Spring Blossom Cookies up to 24 hours ahead of baking. If the dough becomes too firm after chilling, simply let it sit at room temperature for a few minutes to make shaping the cookies easier.
What ingredients can be substituted in the recipe Spring Blossom Cookies?
If you need to make substitutions, you can try using alternative edible flowers that are safe for consumption. Additionally, for a vegetarian version, you can replace the egg with a suitable egg replacer or a mashed banana for binding.
How to adapt the recipe Spring Blossom Cookies for a vegetarian version?
To adapt the Spring Blossom Cookies for a vegetarian version, simply replace the egg with a plant-based alternative like a flax or chia seed egg. This substitution maintains the binding properties needed for the recipe.
Is the recipe Spring Blossom Cookies suitable for children?
Spring Blossom Cookies are generally suitable for children, but be cautious of any floral decorations if there are allergies. You can involve children in the baking process, allowing them to place the edible flowers on top of the cookies for a fun and engaging activity.
Conclusion about the recipe Spring Blossom Cookies
Spring Blossom Cookies offer a delightful combination of flavor and aesthetics, making them a perfect choice for various occasions. With their charming appearance and delicious taste, these cookies bring a touch of springtime joy to every bite. Whether shared with friends, served at gatherings, or enjoyed as a personal treat, these cookies are sure to impress and satisfy.
📌 Keep This Recipe Handy & Discover More Tasty Ideas!
Enjoyed this recipe? Don’t let it slip away! Save it now on Pinterest so it’s always just a click away. Pinning it also helps others find simple, delicious meal ideas!
💡 Whether you’re organizing your weekly meal plan or whipping up something special for guests, having your go-to recipes saved makes life in the kitchen so much easier. Use Pinterest to collect your favorites, explore new versions of classic dishes, and revisit your top meals anytime.
📲 Don’t forget to follow us on Pinterest for a daily dose of inspiration — from cozy family dinners and quick lunches to seasonal desserts and healthy snacks. We update regularly with recipes designed to fit your lifestyle and taste.
📖 Craving more? Head over to our full recipe library to browse a wide variety of easy and flavorful dishes. No matter your skill level, you’ll find recipes that are simple to make and packed with flavor.
✨ Bookmark your favorites and swing by often — there’s always something fresh and delicious waiting for you!