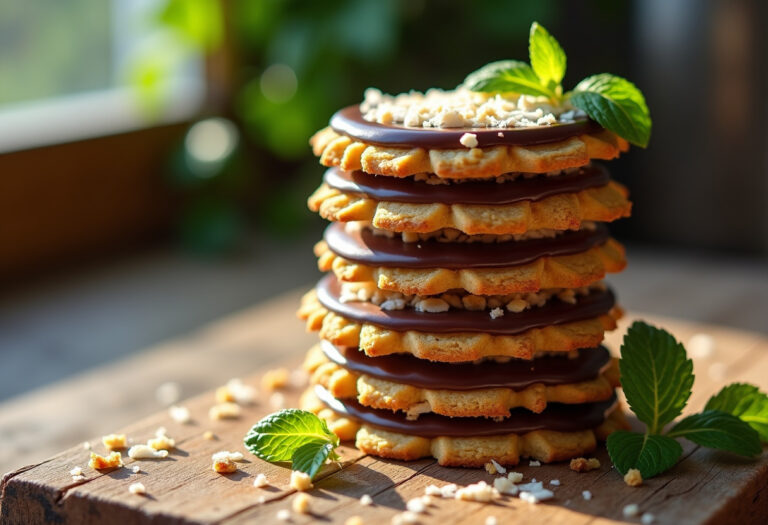
Toasted Samoa Cheesecake
Introduction
If you’re a fan of the iconic Samoa cookie and crave a decadent dessert experience, this Toasted Samoa Cheesecake recipe is a must-try. Packed with caramel, toasted coconut, and a luscious chocolate drizzle, this cheesecake is a delightful treat that captures the essence of the beloved cookie in a creamy, indulgent form.
Why choose this Toasted Samoa Cheesecake recipe?
Indulge in a dessert that combines the nostalgic flavors of the Samoa cookie with a velvety cheesecake texture. This recipe offers a perfect balance of sweet, salty, creamy, and crunchy elements, making it a showstopper for any occasion. Whether you’re hosting a gathering or simply treating yourself, this cheesecake promises a delightful experience that never fails to impress.
Ingredients for Toasted Samoa Cheesecake
- 1 1/2 cups chocolate cookie crumbs (or chocolate graham cracker crumbs)
- 1/4 cup unsalted butter, melted
- 24 oz cream cheese, softened
- 1 cup granulated sugar
- 1 teaspoon vanilla extract
- 1/2 cup sour cream
- 3 large eggs
- 1/2 cup caramel sauce
- 1/2 cup toasted coconut flakes
- 1/2 cup chocolate chips, melted
- Extra caramel sauce and toasted coconut for garnish
Preparation Steps for Toasted Samoa Cheesecake
Step 1: Preheat the Oven and Prepare the Pan
Begin by preheating the oven to 325°F (160°C) and greasing a 9-inch springform pan. Line the bottom with parchment paper to ensure easy release of the cheesecake.
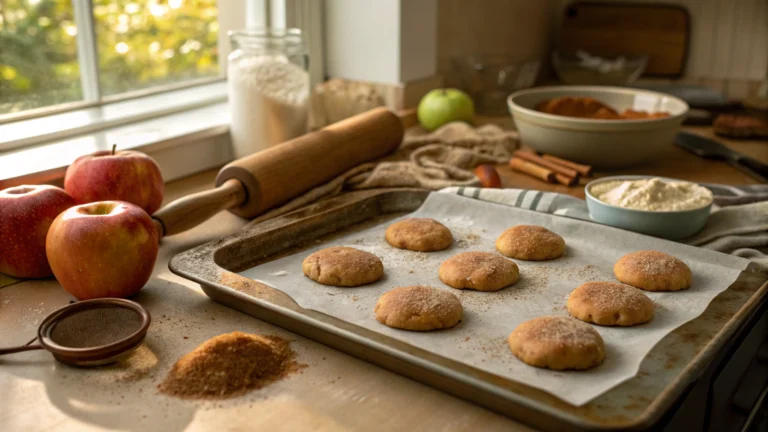
Step 2: Prepare the Crust
Mix the chocolate cookie crumbs with melted butter. Press the mixture firmly into the bottom of the pan to create a crust. Bake for 8–10 minutes, then allow it to cool completely.
Step 3: Prepare the Cheesecake Filling
In a large mixing bowl, beat the softened cream cheese and sugar until smooth. Add the eggs one at a time, mixing well after each addition. Stir in the vanilla extract and sour cream until well combined.
Step 4: Incorporate Caramel and Coconut
Gently fold in the caramel sauce and toasted coconut flakes into the cheesecake filling. Pour the filling over the cooled crust in the pan.
Step 5: Bake the Cheesecake
Bake the cheesecake for 50–60 minutes until the edges are set but the center still slightly jiggles. After turning off the oven, let the cheesecake rest inside for 1 hour to prevent cracking.
Step 6: Refrigerate the Cheesecake
Once baked, refrigerate the cheesecake for at least 4 hours, preferably overnight, to allow it to set completely.
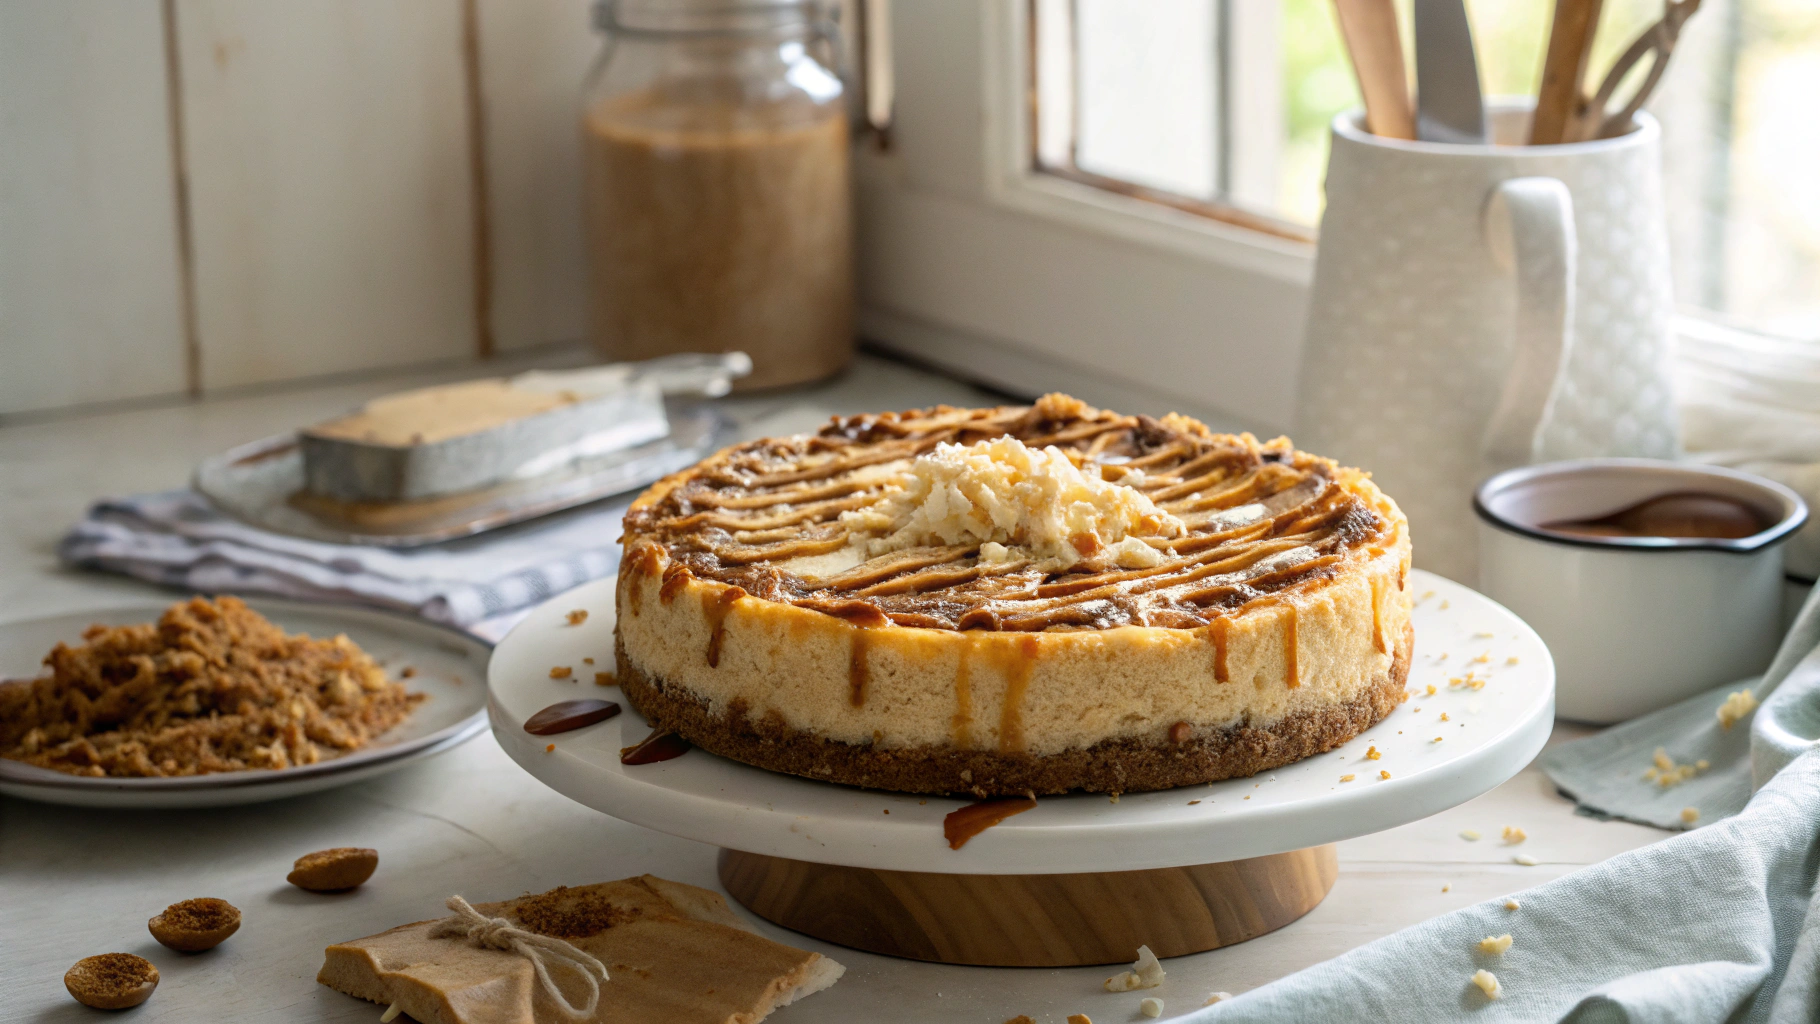
Step 7: Serve the Toasted Samoa Cheesecake
Before serving, drizzle melted chocolate and extra caramel sauce over the cheesecake. Sprinkle with toasted coconut, slice, and enjoy this delightful Toasted Samoa Cheesecake.
Health Benefits of Toasted Samoa Cheesecake
While Toasted Samoa Cheesecake is undoubtedly a decadent treat, it’s important to note that moderation is key when indulging in such rich desserts. However, the occasional slice can provide a mental health boost by satisfying cravings and offering a moment of pure enjoyment. Remember to balance your diet with nutrient-dense foods to support overall well-being.
Origin and History of the Toasted Samoa Cheesecake Recipe
The Toasted Samoa Cheesecake recipe is a delightful twist on the classic Samoa cookie, popularized by the Girl Scouts. This dessert combines the flavors of caramel, coconut, and chocolate in a creamy cheesecake form, creating a luxurious and indulgent treat. While the exact origin of this specific recipe may not be documented, it’s clear that it draws inspiration from the beloved Samoa cookie, making it a nostalgic and delicious creation.
Delicious Variations Around Toasted Samoa Cheesecake
There are several creative variations you can explore to elevate your Toasted Samoa Cheesecake experience:
- Cookie crust swap: Experiment with using shortbread or crushed Samoa cookies for the crust for a unique flavor profile.
- Chocolate swirl: Add a marbled look and taste to your cheesecake by swirling melted chocolate into the filling before baking.
- Nutty touch: Incorporate chopped pecans or almonds into the topping for an added crunch and nutty flavor.
- Mini cheesecakes: Create individual, single-serve versions by dividing the mixture into muffin tins for adorable mini cheesecakes.
Chef’s Tips for Perfecting Your Toasted Samoa Cheesecake
To ensure your Toasted Samoa Cheesecake turns out perfectly every time, consider the following tips:
- Room temperature ingredients: Make sure your cream cheese and eggs are at room temperature for a smooth and creamy filling.
- Gentle mixing: Avoid overmixing the batter, especially after adding the eggs, to prevent air pockets and cracks in the cheesecake.
- Baking time: Keep a close eye on your cheesecake towards the end of the baking time to prevent over-baking, as a slightly jiggly center is ideal.
- Chilling: Allow the cheesecake to chill in the refrigerator for the recommended time to ensure it sets properly before serving.
Ingredient Alternatives for Toasted Samoa Cheesecake
When preparing Toasted Samoa Cheesecake, you can get creative with ingredient substitutions to cater to different dietary preferences or simply to experiment with unique flavors. Here are some alternatives you can consider:
- Instead of chocolate cookie crumbs for the crust, you can use crushed Oreo cookies or even digestive biscuits for a different texture.
- If you’re looking for a healthier option, opt for low-fat cream cheese or Greek yogurt in place of the traditional cream cheese.
- For a vegan version, you can substitute the eggs with a flaxseed or chia seed egg replacer and use a plant-based caramel sauce.
- If you’re not a fan of coconut, you can swap it out for chopped nuts like pecans or macadamia nuts for added crunch.
Tips and Tricks to Perfect Your Toasted Samoa Cheesecake
Creating the perfect Toasted Samoa Cheesecake requires attention to detail and a few insider tips to ensure a flawless outcome. Here are some tricks to help you master this decadent dessert:
- Make sure all your ingredients are at room temperature before starting to ensure a smooth and creamy batter.
- Avoid overmixing the batter once the eggs are added to prevent air bubbles that can lead to cracking during baking.
- When baking the cheesecake, place a pan of water on the rack below to create a steamy environment in the oven, which helps prevent cracks on the surface.
- For a cleaner slice, chill the cheesecake thoroughly before cutting into it, and run a knife under hot water between each cut.
- To add an extra layer of flavor, sprinkle a pinch of sea salt on top of the cheesecake before serving to enhance the sweet and savory contrast.
Side Dish Suggestions for Toasted Samoa Cheesecake
Pairing your indulgent Toasted Samoa Cheesecake with the right accompaniments can elevate the dessert experience and complement its rich flavors. Here are some side dish suggestions to serve alongside your cheesecake:
- A scoop of vanilla bean ice cream or a dollop of freshly whipped cream adds a creamy contrast to the dense texture of the cheesecake.
- Fresh berries like raspberries or blackberries provide a tart and refreshing balance to the sweetness of the cheesecake.
- A drizzle of salted caramel sauce or a sprinkle of flaky sea salt on the plate enhances the caramel notes in the cheesecake and adds a gourmet touch.
- For a crunchy element, serve the cheesecake with buttery shortbread cookies or almond biscotti for dipping.
FAQ about the recipe Toasted Samoa Cheesecake
How to store the recipe Toasted Samoa Cheesecake after cooking?
After baking the Toasted Samoa Cheesecake, you can store it in an airtight container in the refrigerator for up to 5 days. If you want to freeze it, wrap individual slices in plastic wrap and place them in a freezer-safe bag. The cheesecake can last up to 2 months in the freezer. When you’re ready to enjoy a frozen slice, simply let it thaw in the fridge overnight. Avoid reheating the cheesecake as it is best served chilled.
Can the recipe Toasted Samoa Cheesecake be prepared in advance?
Absolutely! You can prepare the Toasted Samoa Cheesecake in advance to save time. After baking, allow the cheesecake to cool completely, then cover it tightly and refrigerate. It actually tastes even better when made ahead as the flavors have time to meld together. Just add the final toppings before serving to keep them fresh and visually appealing.
What ingredients can be substituted in the recipe Toasted Samoa Cheesecake?
If you need to make substitutions in the Toasted Samoa Cheesecake recipe, you can experiment with different types of cookies for the crust, such as shortbread or even crushed Samoa cookies for a more intense flavor. For a vegetarian version, consider using plant-based cream cheese and caramel sauce. You can also swap the toasted coconut with chopped nuts like pecans or almonds for a different texture.
How to adapt the recipe Toasted Samoa Cheesecake for a vegetarian version?
To adapt the Toasted Samoa Cheesecake for a vegetarian version, simply use vegetarian-friendly ingredients. Opt for plant-based cream cheese and caramel sauce to replace the dairy versions. Ensure all your ingredients are certified vegetarian, and you can enjoy a delicious vegetarian-friendly version of this indulgent cheesecake.
Is the recipe Toasted Samoa Cheesecake suitable for children?
The Toasted Samoa Cheesecake can be a delightful treat for children, especially if they enjoy the flavors of caramel, chocolate, and coconut. However, it’s essential to consider any dietary restrictions or allergies your child may have. You can involve them in the baking process, making it a fun activity to do together. Just remember to supervise them when using kitchen appliances and handling hot ingredients.
Conclusion about the recipe Toasted Samoa Cheesecake
Indulge in the decadent flavors of the Toasted Samoa Cheesecake, a dessert that beautifully captures the essence of the iconic Samoa cookie. With its rich caramel, toasted coconut, and chocolate drizzle, this cheesecake is a true celebration in every bite. Whether you’re baking for a special occasion or simply treating yourself, this recipe promises to deliver a perfect balance of sweetness, creaminess, and crunch. Get ready to impress your taste buds with this showstopping dessert!
📌 Keep This Recipe Handy & Discover More Tasty Ideas!
Enjoyed this recipe? Don’t let it slip away! Save it now on Pinterest so it’s always just a click away. Pinning it also helps others find simple, delicious meal ideas!
💡 Whether you’re organizing your weekly meal plan or whipping up something special for guests, having your go-to recipes saved makes life in the kitchen so much easier. Use Pinterest to collect your favorites, explore new versions of classic dishes, and revisit your top meals anytime.
📲 Don’t forget to follow us on Pinterest for a daily dose of inspiration — from cozy family dinners and quick lunches to seasonal desserts and healthy snacks. We update regularly with recipes designed to fit your lifestyle and taste.
📖 Craving more? Head over to our full recipe library to browse a wide variety of easy and flavorful dishes. No matter your skill level, you’ll find recipes that are simple to make and packed with flavor.
✨ Bookmark your favorites and swing by often — there’s always something fresh and delicious waiting for you!