Follow Me On Social Media!
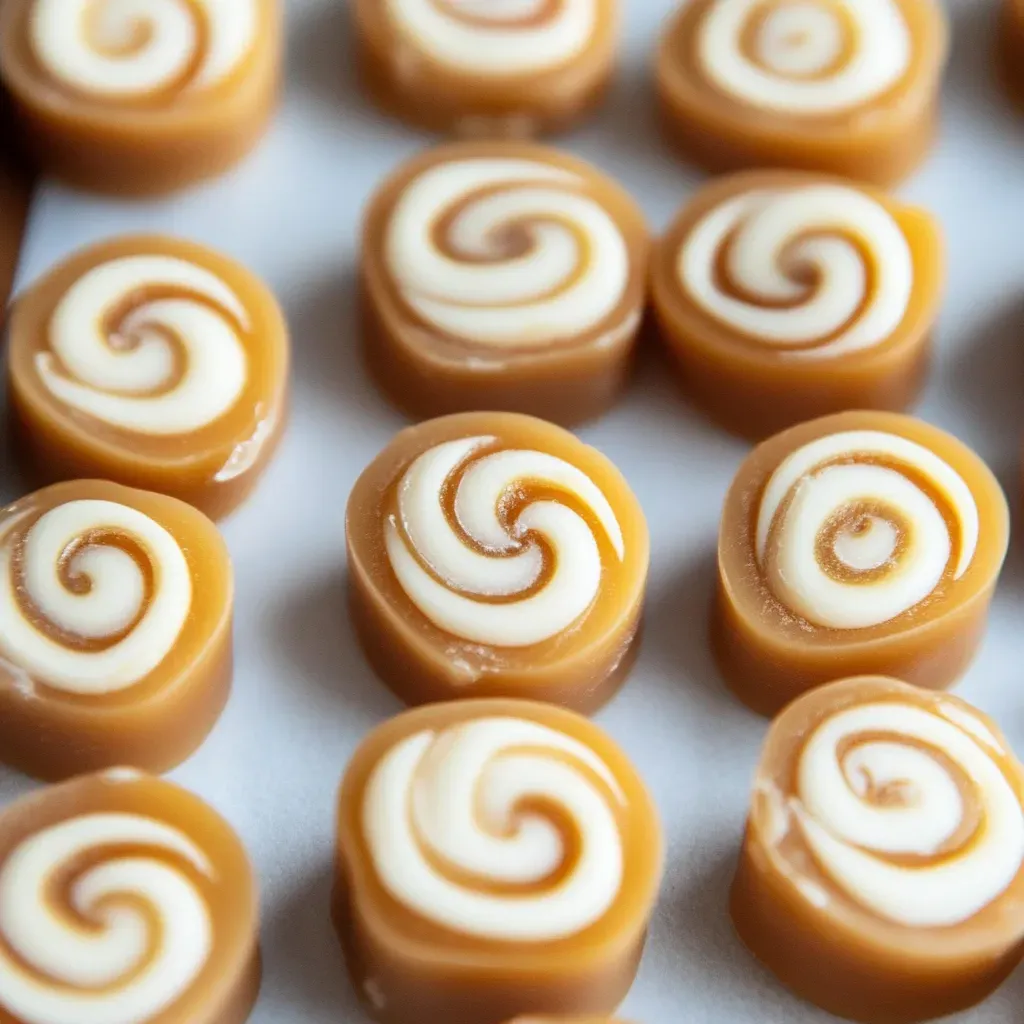
Craving a sweet treat that’s both luxurious and homemade? Look no further than these mouthwatering Delicious Vanilla Filled Caramels. Picture rich, buttery caramel enveloping a luscious vanilla filling, the perfect marriage of chewy and creamy textures in each bite.
Achieving these delectable caramels may seem like a daunting task, but fear not! With a little patience and attention to detail, you can create confectionery wonders that rival those of a high-end candy shop. Remember, the key lies in mastering temperatures and timing to perfection.
Whether you’re whipping up a batch for gifting or simply indulging your sweet tooth, these caramels are sure to impress. So, roll up your sleeves, gather your ingredients, and get ready to embark on a culinary adventure that will leave you savoring every last piece of these heavenly treats.
Quick Benefits
- Perfect mix of chewy outside and smooth inside
- Handcrafted goodies that taste better than store-bought
- Long shelf life – up to 3 weeks at room temperature, up to 2 months in the fridge
Why You’ll Love This Vanilla Caramel Recipe: How to Make Delicious Filled Caramels Recipe
- Gourmet Flavor Combination: Enjoy the rich, buttery caramel exterior paired with a luscious creamy vanilla center for a decadent taste experience.
- Perfect Texture Blend: Indulge in the chewy outside and smooth inside of these handcrafted caramels, offering a delightful contrast in every bite.
- Customizable Treats: Personalize your caramels by experimenting with different fillings, coatings, or toppings to suit your taste preferences.
- Homemade Elegance: Impress your friends and family with these gourmet-quality candies that rival those found in high-end confectionery shops.
- Long Shelf Life: Store these treats in an airtight container at room temperature for up to 3 weeks or in the fridge for up to 2 months, ensuring lasting enjoyment.
- Balanced Complexity: Master the art of candy-making by paying attention to temperature and timing, resulting in perfectly crafted caramels every time.
- Satisfaction Guaranteed: Whether as a gift or a special treat for yourself, these caramels promise to bring joy with each bite, making everyone smile.
Ingredients for Vanilla Caramel Recipe: How to Make Delicious Filled Caramels
Caramel
- 340 grams milk, evaporated (1 can)
- 170 grams cream, heavy
- 4 grams salt
- 285 grams corn syrup
- 113 grams butter, unsalted
- 340 grams sugar, brown
Vanilla Cream
- 90 grams shortening, vegetable
- 75 grams corn syrup
- 475 grams sugar, powdered
- 2 grams vanilla
Pro Tips for Vanilla Caramel Recipe: How to Make Delicious Filled Caramels
When making these Vanilla Filled Caramels, pay close attention to the temperatures specified in the recipe. Using a candy thermometer can help ensure that your caramel reaches the right consistency, giving you that perfect chewy texture on the outside and a creamy center. Timing is crucial, so be patient and follow the instructions closely to achieve the best results.
For storing your homemade caramels, remember to keep them in an airtight container at room temperature for up to 3 weeks or in the fridge for up to 2 months. Bringing them back to room temperature before enjoying will help maintain the ideal texture. Customize your caramels by experimenting with different fillings or toppings to create unique flavor combinations that suit your taste preferences or make them perfect for gifting to friends and family.
How to Make Vanilla Caramel Recipe: How to Make Delicious Filled Caramels
Step 1: Ready the Surface
Prepare a large sheet of parchment paper that is larger than a 10″ x 16″ shape with extra space around all edges.
Step 2: Begin the Caramel
Combine butter, brown sugar, salt, evaporated milk, heavy cream, and corn syrup in a heavy-bottomed pot.
Step 3: First Heating Stage
On medium-low heat, stir constantly until the butter is melted and sugar is dissolved.
Step 4: Get it Bubbling
Increase heat to medium and continuously stir until the mixture comes to a boil.
Step 5: Reach Target Heat
Increase heat to medium-high. Stir continuously while cooking until the caramel reaches 241°F.
Step 6: Cool Down Caramel
Turn off the heat and spread the caramel onto parchment paper to form a thin 10″ x 16″ rectangle. Allow it to cool completely.
Step 7: Create the Filling
Place shortening in a mixing bowl. Beat on low speed for 1 minute. Gradually incorporate powdered sugar, adding half a cup at a time. Mix in vanilla and corn syrup until well combined. Add water as needed until the mixture reaches a play-doh-like consistency. Knead the dough until smooth.
Step 8: Put it Together
Slice the caramel slab into four equal parts. Spread a thin layer of vanilla cream on each piece, leaving a half-inch gap at the top edge. Roll each piece into a log shape.
Step 9: Wrap Up
Stretch each log to a length of 12-15 inches, then cut into half-inch slices and shape as desired.
📌 Pin for later!

Storage Tips
After making a batch of these delicious vanilla-filled caramels, it’s important to store them properly to maintain their freshness and flavor. To keep the caramels at their best, store them in an airtight container at room temperature for up to 3 weeks. This will help preserve their texture and prevent them from drying out.
If you want to extend the shelf life of your caramels, you can store them in the refrigerator for up to 2 months. Just make sure to bring them back to room temperature before serving to ensure they have the right chewy consistency. Proper storage will help keep your homemade caramels tasting great for longer periods, allowing you to enjoy them over an extended period of time.
By following these storage tips, you can savor your homemade vanilla-filled caramels for weeks to come. Whether you’re making them as gifts or for your own enjoyment, storing them correctly will help maintain their quality and flavor. Remember to keep them in an airtight container and pay attention to bringing them back to room temperature for a delightful treat every time you indulge.
Ingredient Substitutions
For the Delicious Vanilla Filled Caramels recipe, there are some ingredient substitutions you can consider based on availability or dietary preferences. For example, if you prefer not to use evaporated milk, you can substitute it with an equal amount of heavy cream or half-and-half for a richer flavor. Additionally, if you’re looking to make a dairy-free version, you could use coconut cream or almond milk as a substitute for the heavy cream.
In terms of sweeteners, you can experiment with different types of sugars such as granulated sugar or honey instead of brown sugar. Each sweetener will slightly alter the taste and texture of the caramels, so feel free to adjust the quantities based on your preference. Moreover, if you don’t have corn syrup on hand, you can use honey or maple syrup as a replacement. Just keep in mind that the flavor profile might change slightly with different sweeteners.
Remember that ingredient substitutions may affect the final taste and texture of the caramels, so it’s essential to make small adjustments and taste along the way to ensure the desired outcome. Feel free to get creative and tailor the recipe to your liking while keeping in mind the fundamental principles of candy-making to achieve delicious results.
Serving Suggestions
Serve these delicious vanilla-filled caramels as a sweet addition to your dessert platter at your next gathering. Arrange them on a decorative plate with a sprinkle of edible gold dust or a drizzle of melted chocolate for an elegant touch. You can also place them in mini cupcake liners for a charming presentation that is sure to impress your guests.
For a cozy night in, pair these homemade caramels with a cup of hot cocoa or a glass of red wine. Create a DIY caramel tasting board with a variety of caramels, nuts, and dried fruits for a fun and interactive experience. The combination of the rich buttery caramel and creamy vanilla center will be a delightful treat for your taste buds.
FAQs for Vanilla Caramel Recipe: How to Make Delicious Filled Caramels
Can I store these vanilla filled caramels in the fridge?
Yes, you can store the caramels in an airtight container in the fridge for up to 2 months. Just remember to bring them back to room temperature before enjoying them to ensure the right texture.
What is the key to successful caramel making according to the article?
The key to successful caramel making, according to the article, is watching your temperatures and getting the timing right. Paying close attention to these factors will help ensure your caramels turn out amazing.
How long can I keep these caramels at room temperature?
You can keep the wrapped caramels in an airtight container at room temperature for up to 3 weeks. Beyond that, it’s recommended to store them in the fridge for longer shelf life.
How can I customize these vanilla filled caramels?
You can make these caramels your own by adding in additional flavors or toppings. Consider mixing in nuts, sea salt, or flavored extracts to give your caramels a unique twist. Get creative and experiment with different combinations to find your favorite variation.
Conclusion
In conclusion, these Delicious Vanilla Filled Caramels are truly a labor of love that will impress your friends and family. The perfect blend of chewy caramel and creamy vanilla makes them irresistible, and with a little practice and attention to detail, you can master the art of candy-making right in your own kitchen.
Remember, the key to success with these caramels lies in patience and precision. Take your time, follow the recipe closely, and enjoy the process of creating these delectable treats. Whether you’re looking for a special gift or a sweet indulgence for yourself, these caramels will surely satisfy your cravings for something truly delightful. So go ahead, give this recipe a try and treat yourself to some homemade goodness with these Delicious Vanilla Filled Caramels.
📌 Pin for later!
Vanilla Caramel Recipe: How to Make Delicious Filled Caramels
Indulge in handcrafted Vanilla Filled Caramels, a perfect blend of chewy caramel and creamy vanilla that rivals any candy shop treat.
Prep Time60 Minutes
Cook Time60 Minutes
Total Time120 Minutes
CuisineAmerican
Skill LevelEasy
Servings50 Servings (50 pieces)
Ingredients
Caramel
- 340 grams milk, evaporated (1 can)
- 170 grams cream, heavy
- 4 grams salt
- 285 grams corn syrup
- 113 grams butter, unsalted
- 340 grams sugar, brown
Vanilla Cream
- 90 grams shortening, vegetable
- 75 grams corn syrup
- 475 grams sugar, powdered
- 2 grams vanilla
Instructions
-
Ready the Surface: Prepare a large sheet of parchment paper that is larger than a 10″ x 16″ shape with extra space around all edges.
-
Begin the Caramel: Combine butter, brown sugar, salt, evaporated milk, heavy cream, and corn syrup in a heavy-bottomed pot.
-
First Heating Stage: On medium-low heat, stir constantly until the butter is melted and sugar is dissolved.
-
Get it Bubbling: Increase heat to medium and continuously stir until the mixture comes to a boil.
-
Reach Target Heat: Increase heat to medium-high. Stir continuously while cooking until the caramel reaches 241°F.
-
Cool Down Caramel: Turn off the heat and spread the caramel onto parchment paper to form a thin 10″ x 16″ rectangle. Allow it to cool completely.
-
Create the Filling: Place shortening in a mixing bowl. Beat on low speed for 1 minute. Gradually incorporate powdered sugar, adding half a cup at a time. Mix in vanilla and corn syrup until well combined. Add water as needed until the mixture reaches a play-doh-like consistency. Knead the dough until smooth.
-
Put it Together: Slice the caramel slab into four equal parts. Spread a thin layer of vanilla cream on each piece, leaving a half-inch gap at the top edge. Roll each piece into a log shape.
-
Wrap Up: Stretch each log to a length of 12-15 inches, then cut into half-inch slices and shape as desired.